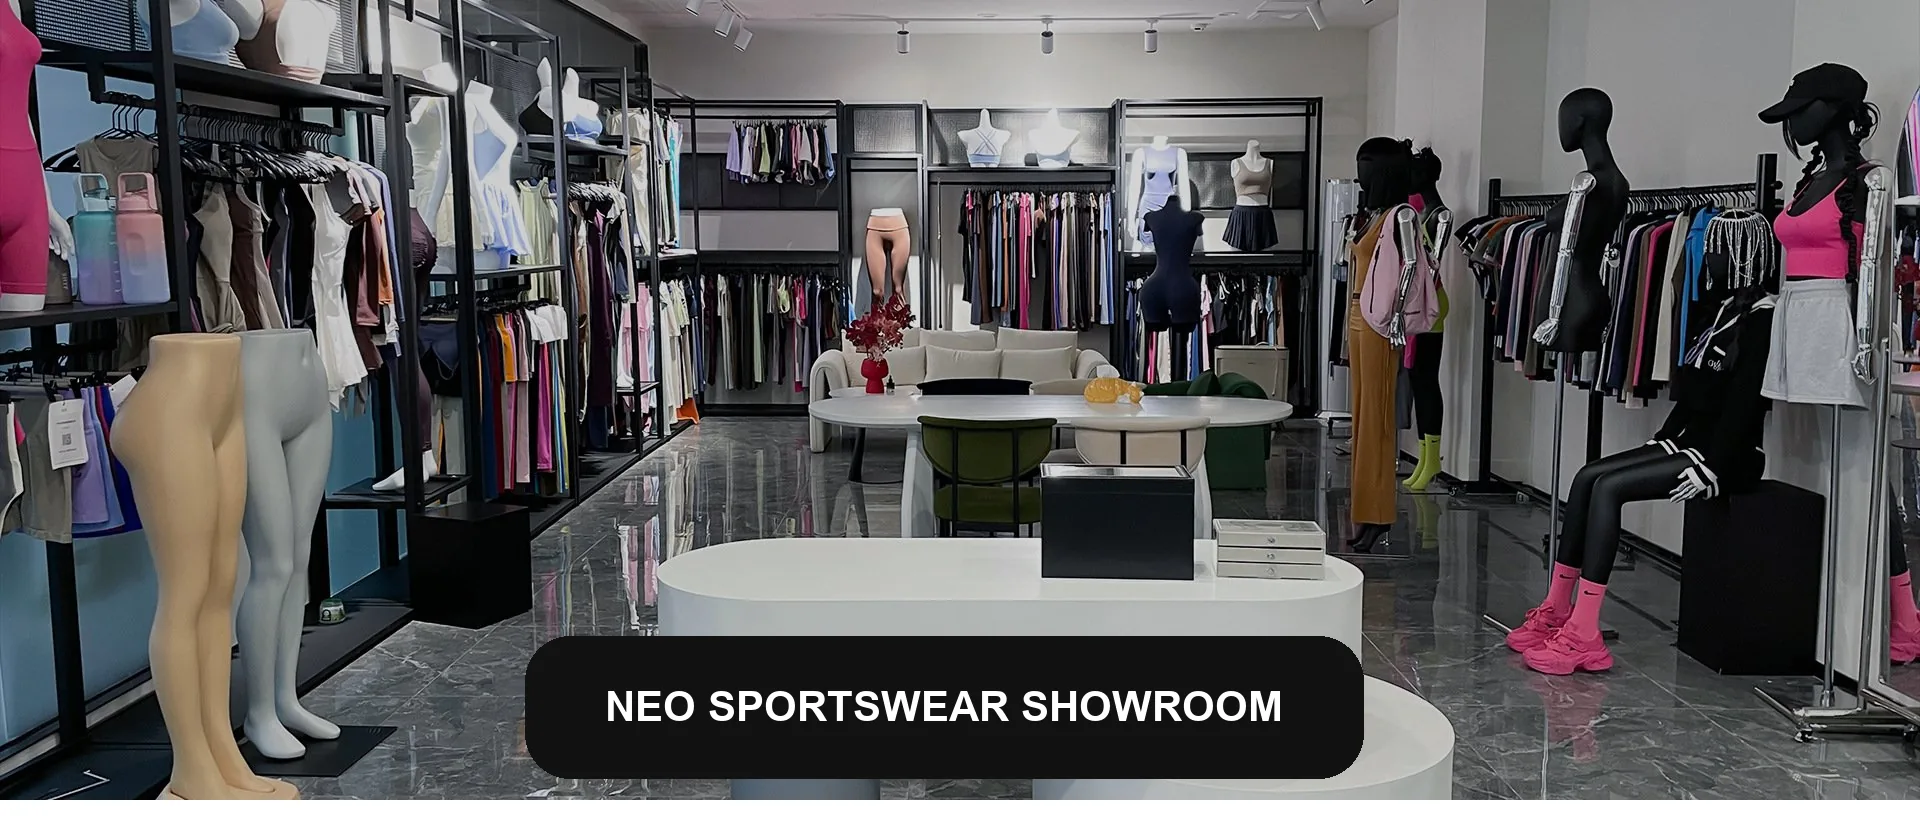
Halter, Strappy or Racerback: Choosing a Bra Back for Your Market
The back of a sports bra does three jobs at once — it carries the support, it decides how the garment photographs, and it sets the price ceiling. Here is how the four common constructions behave, and how to build a three-back range instead of ten variations of the same idea.
Buyers tend to choose a bra by the front. Customers choose by the back, because the back is what they see in the mirror at the end of a class and what a photograph shows when they turn around. That mismatch is why a range can look complete on a line sheet and sell out in one construction only.
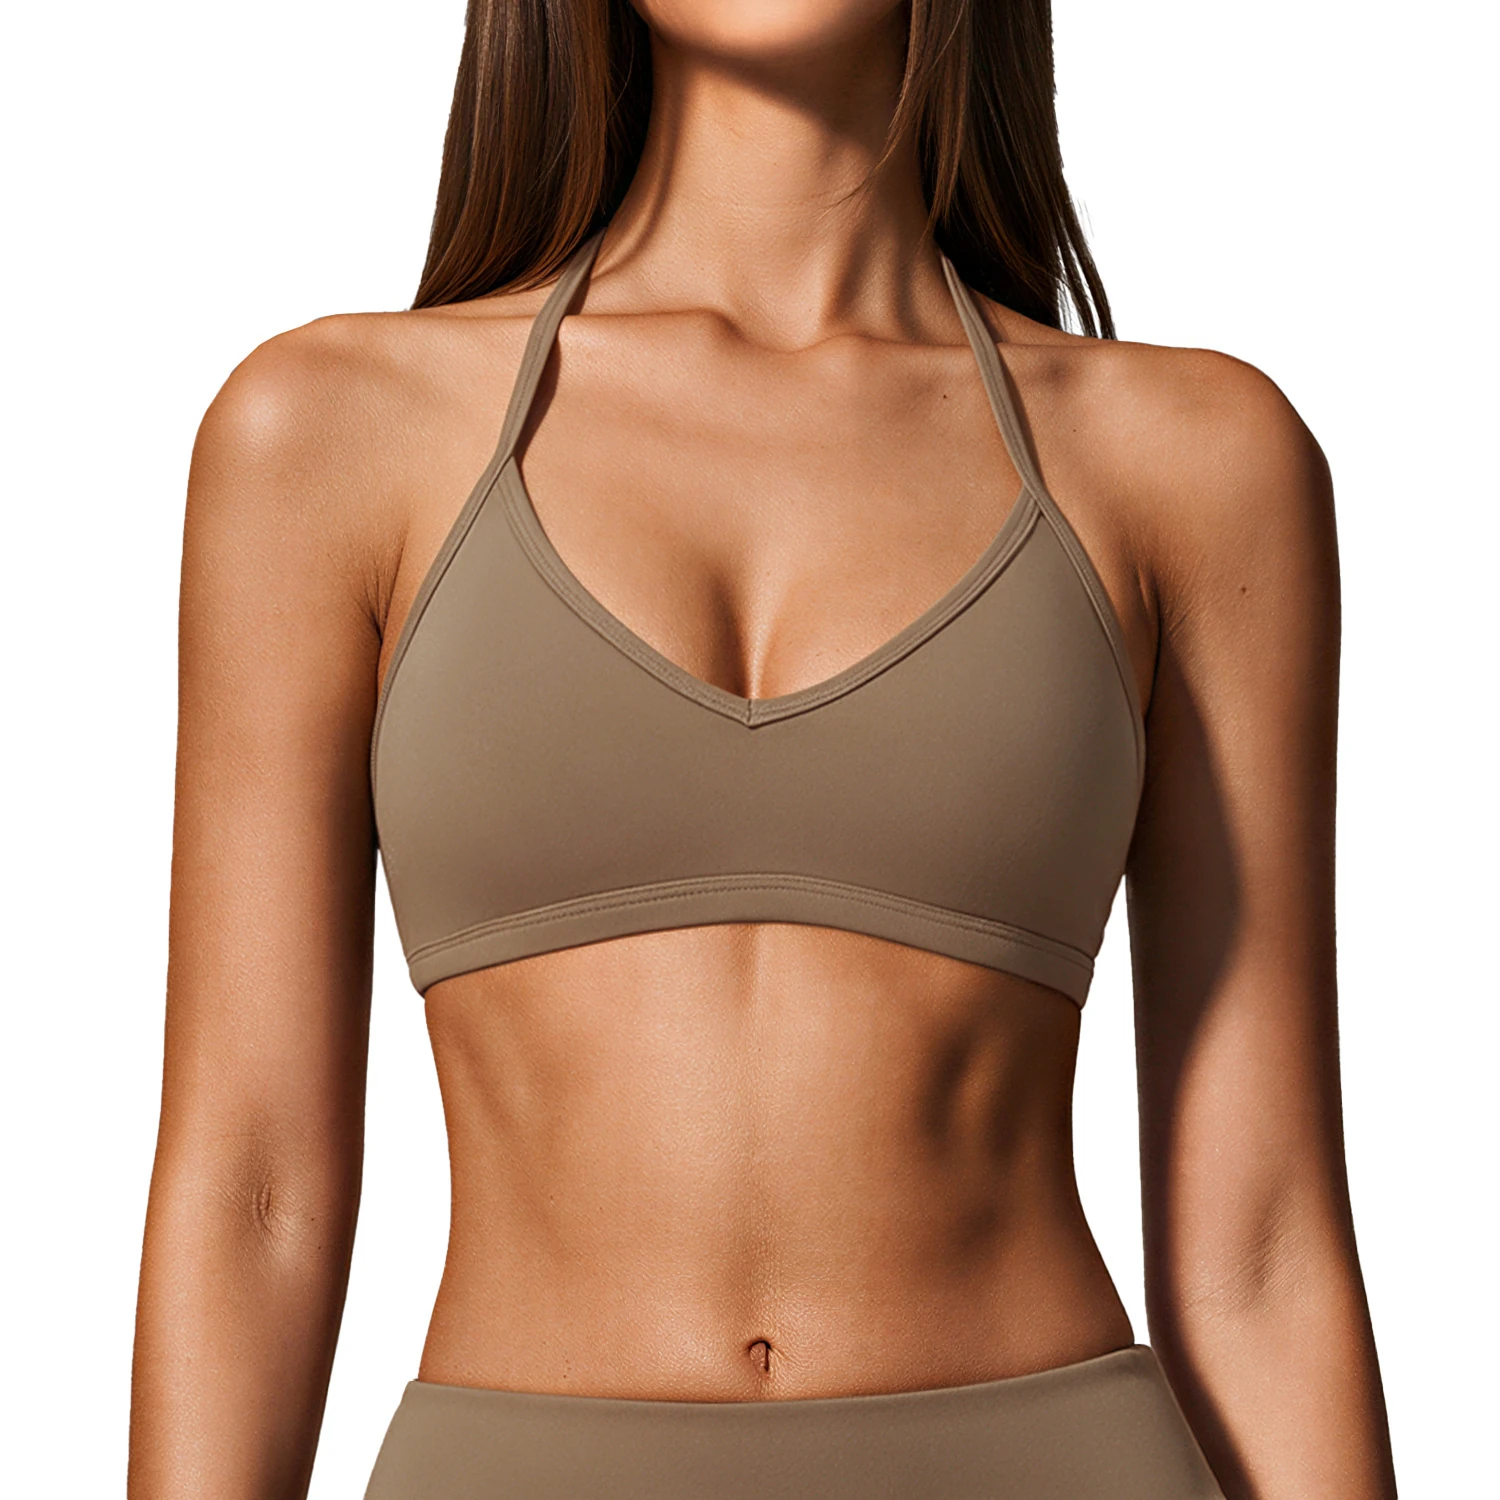
Halter: the swim-to-studio crossover
A halter carries the straps around the neck, which lifts the bust and opens the shoulders. It is the most flattering back for photographs and the most natural crossover from swimwear, which is why it sells strongly in resort markets, in summer drops and to customers who train in low-impact formats.
The engineering caveat is load. Everything hangs from the neck, so a halter is comfortable up to a medium bust and increasingly unpleasant beyond it — the neck strap has to be wide enough, and the underband has to do more work than the customer expects. If you sell a halter in a full size range, specify a wider neck strap and a firmer underband elastic; a halter cut for a B cup and graded up without those changes will generate returns.
Strappy and criss-cross: the social-media back
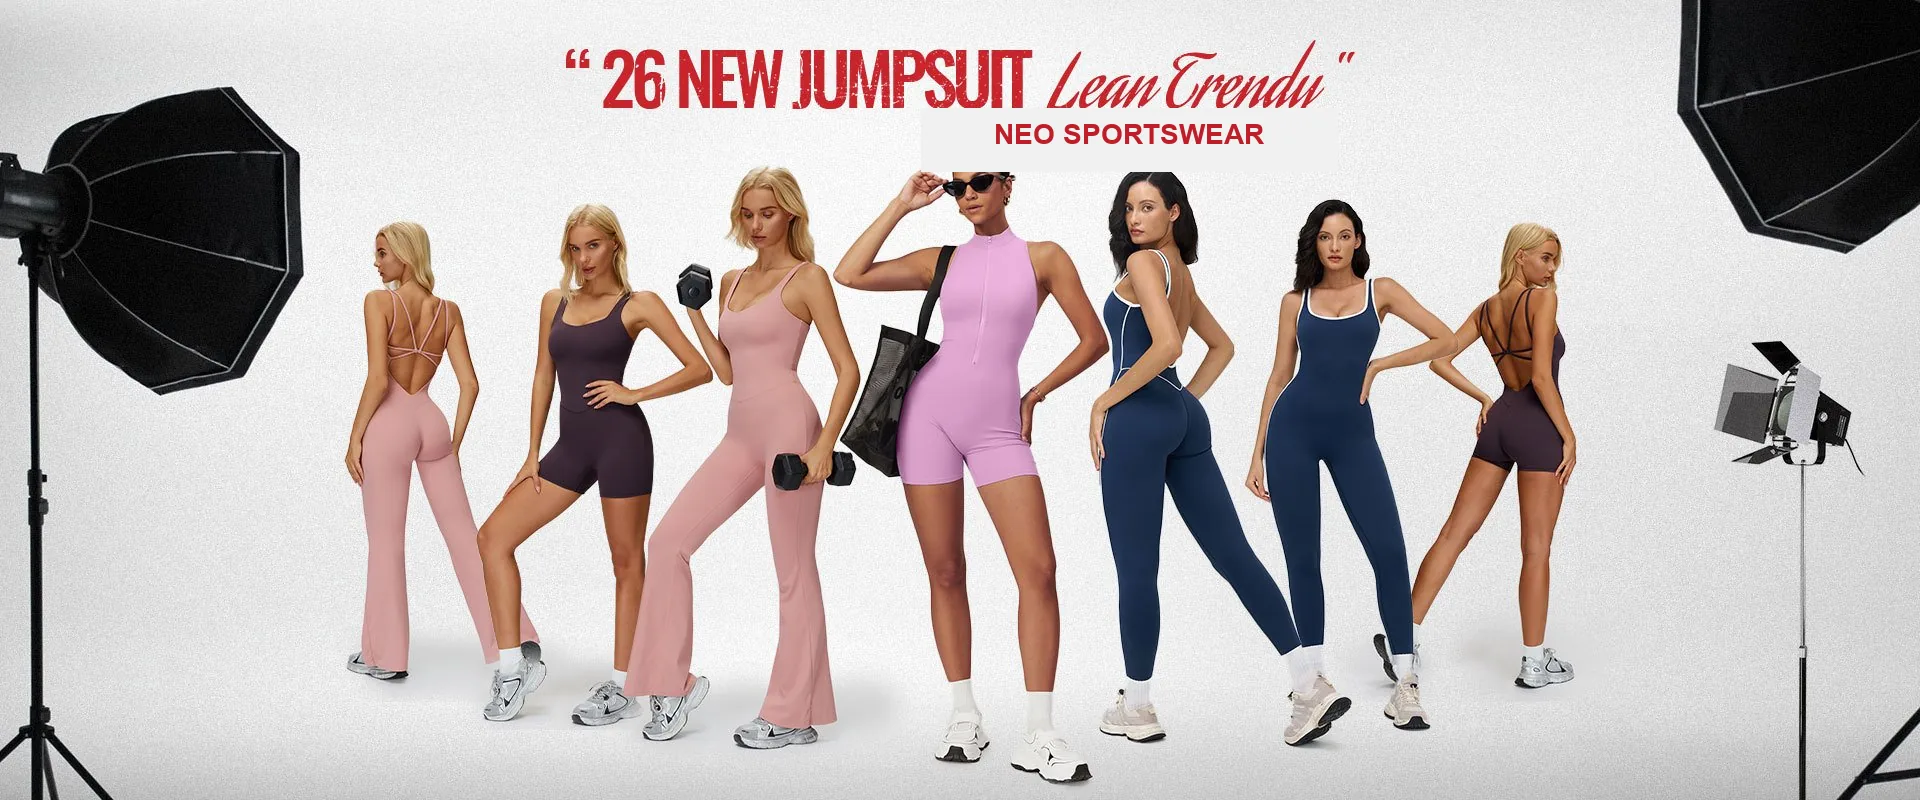
Multi-strap backs exist to be seen. A criss-cross or strappy back photographs as design, hides nothing, and signals "studio wear" rather than "gym kit" — which is exactly why it outperforms in markets where customers buy activewear as everyday clothing rather than as equipment.
The trade is support and durability. Straps that cross at a single point concentrate load there, so a well-made strappy back anchors at four points — two at the shoulder, two at the underband — and uses a wider elastic at the crossover. Cheap versions anchor at two points, which is why they roll, dig in, and end up in the exchange pile after a month.
Racerback: the support default
The racerback brings both straps to the centre of the upper back, which allows full shoulder rotation and spreads load across the trapezius instead of the neck. It is the most practical construction for training, the easiest to grade across a full size range, and the one that survives the most washing without distorting.
It is also the least distinctive. A racerback in black is the most commoditised garment in the category, so it belongs in a range as the volume seller rather than the hero. Sell it on fit and fabric, price it as the entry piece, and let the halter or strappy styles carry the brand story.
Open and scoop backs: the yoga construction
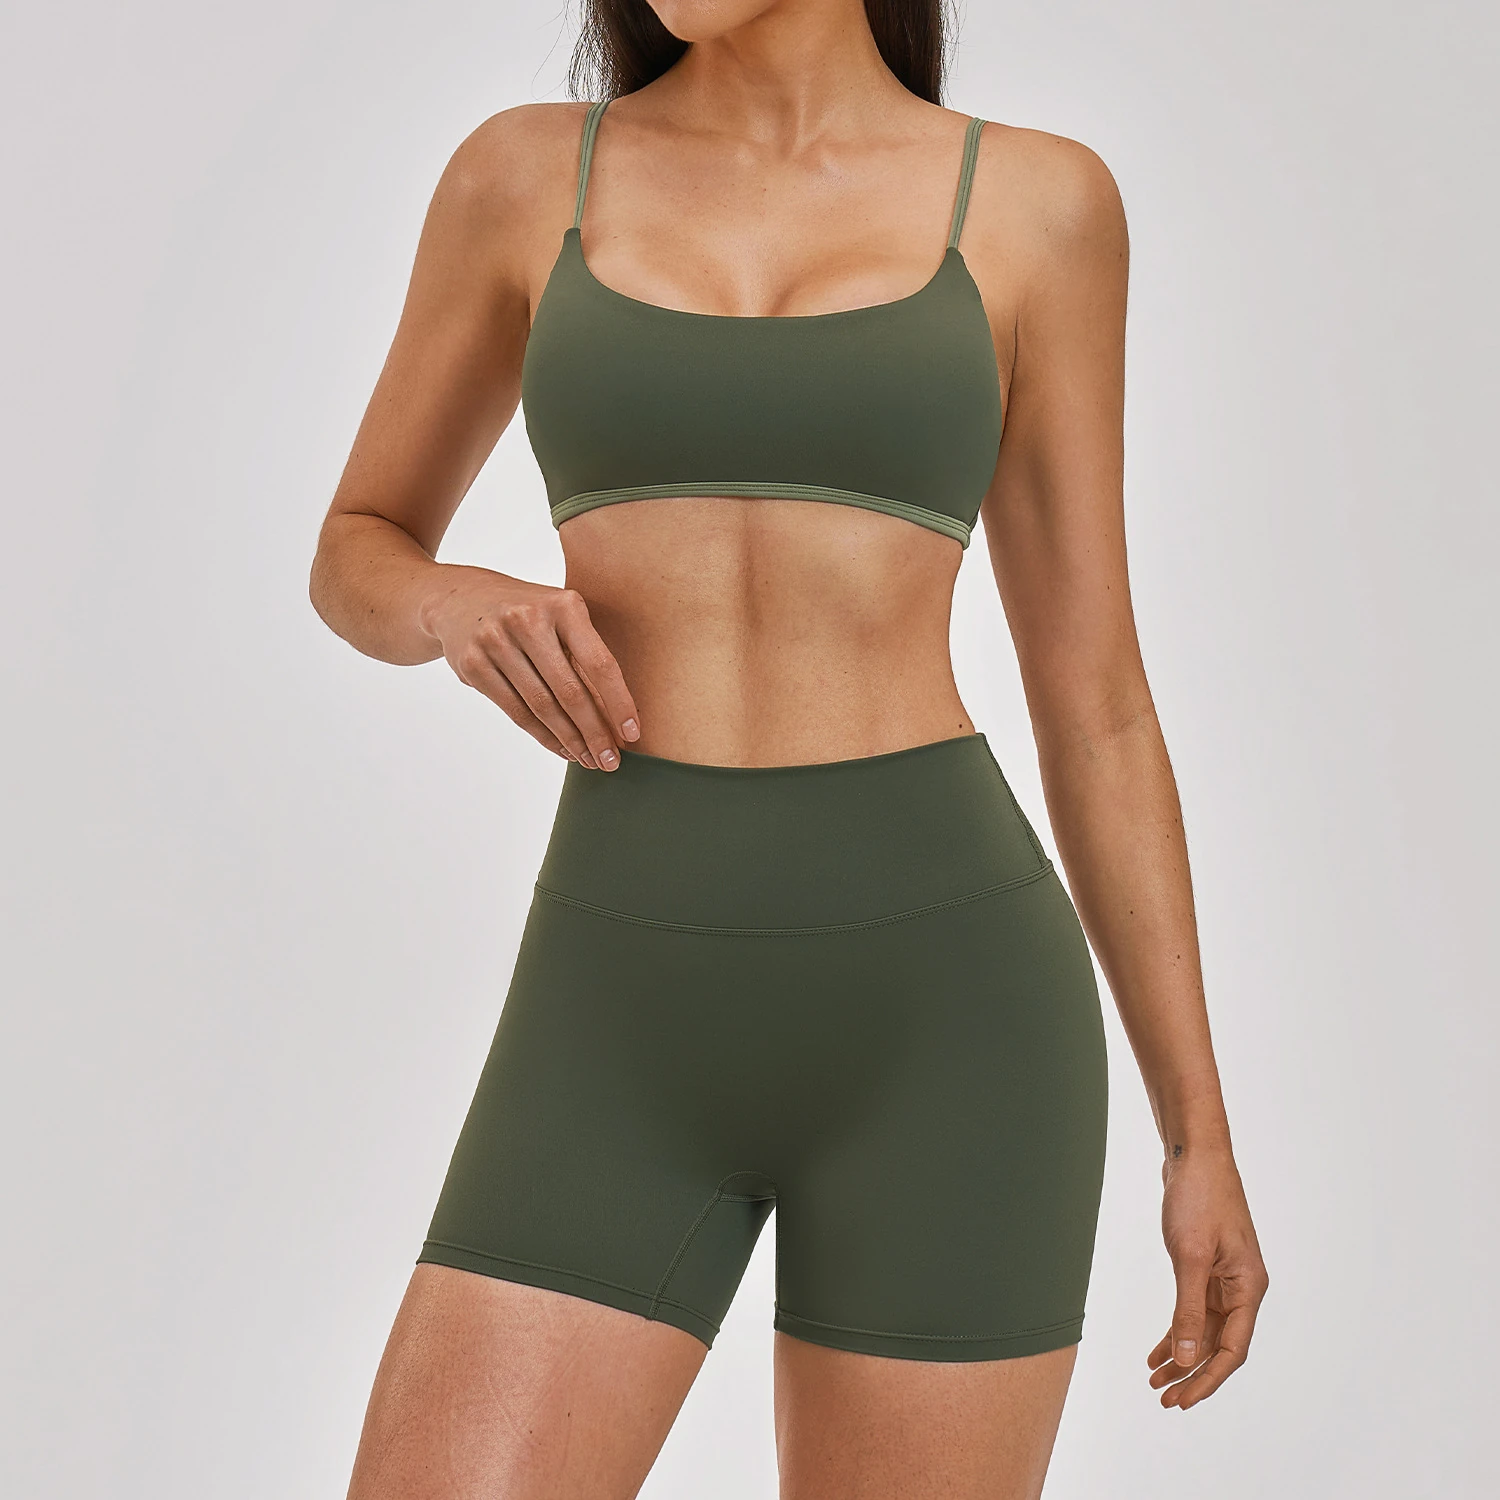
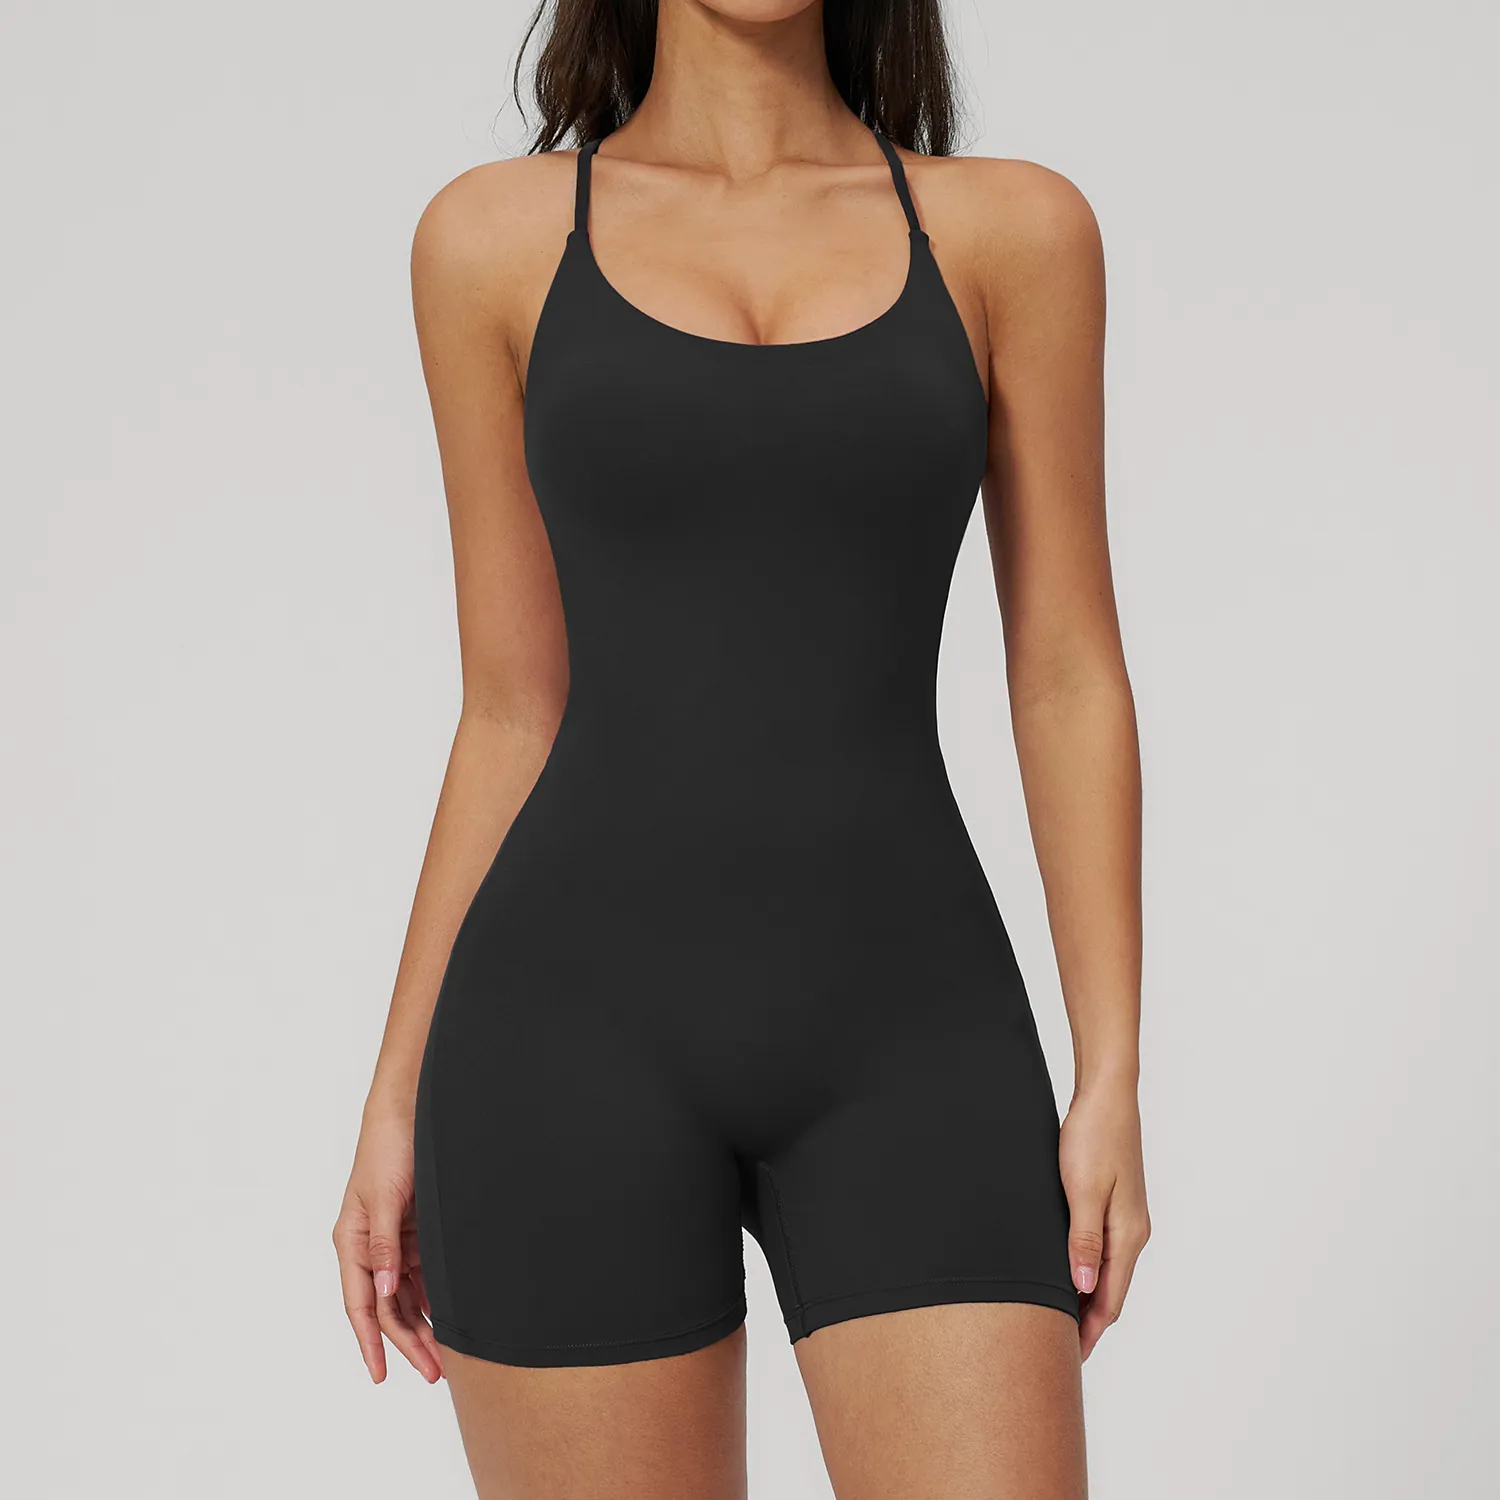
A scoop or open back turns the bra into a design element and works best in a one-piece or a set where the back is the feature — the backless jumpsuit is the extreme version of this idea. Support comes almost entirely from the underband and the side panels, so the fabric has to be dense and the band has to be knitted to width rather than cut from a straight roll.
This construction is the hardest to get right and the most valuable when you do, because it cannot be copied by printing a logo onto a generic body. If your positioning is design-led rather than price-led, this is where the differentiation lives.
Building a three-back range
Three backs, three jobs. Anything more in a first range splits your buy and your content without adding a customer.
- Volume: a racerback or scoop in the core colour — the piece that sells to everyone and pays the freight.
- Hero: a halter or strappy back in the colour you photograph most — the piece that gets screenshotted and shared.
- Statement: an open back in a set or one-piece — low volume, high margin, defines the brand.
Colour should follow the same logic. Two core shades that will never markdown (black, and one deep neutral), plus two fashion shades that carry the season. Deep-dyed blacks hide construction faults and photograph badly; light shades show every seam and sell best in summer. If you can only stock four colours, that split is the safest.
Where the logo goes on a bra back
Placement decisions get easier once you accept that the back is where the customer looks and the front is where the brand sits. Practical placements, in order of how well they hold up:
- Centre front underband — flat transfer or small silicone badge, 4-6 cm. Reads in a mirror selfie without fighting the neckline.
- Center back between the straps — the highest-visibility spot on a strappy back, but only if the panel is stable. On a criss-cross construction, keep the mark below the crossover.
- Left side seam, hem level — the discreet option for a large wordmark; sits on a flat panel and stretches least.
- Avoid: across a strap, across a seam, or over the point where straps cross. All three distort the artwork under stretch and fail within a few washes.
Whatever you choose, sample it on the construction you are actually selling — a placement approved on a racerback tells you nothing about the same mark on a halter, where the geometry of the panel is different.
Four back constructions, thirteen stock colours, logo from 50 pcs — tell us your market and we will shortlist the three that will sell there.