Launching a Gym or Studio Merch Line in 30 Days
A workable timeline for the owner who has never sourced apparel: which styles to start with, how many units of each size, where the logo goes, and what the margin looks like once the freight and the sample are paid for.
Studio merch fails in two directions. Either the owner orders a single style in a single colour and nobody buys it because there is no choice, or they order twelve styles across five sizes and end up with a stockroom instead of a revenue line. The middle path is unglamorous and works: three styles, a real size range, one strong colour story, and a reorder plan.
Week 1: choose three styles, not ten
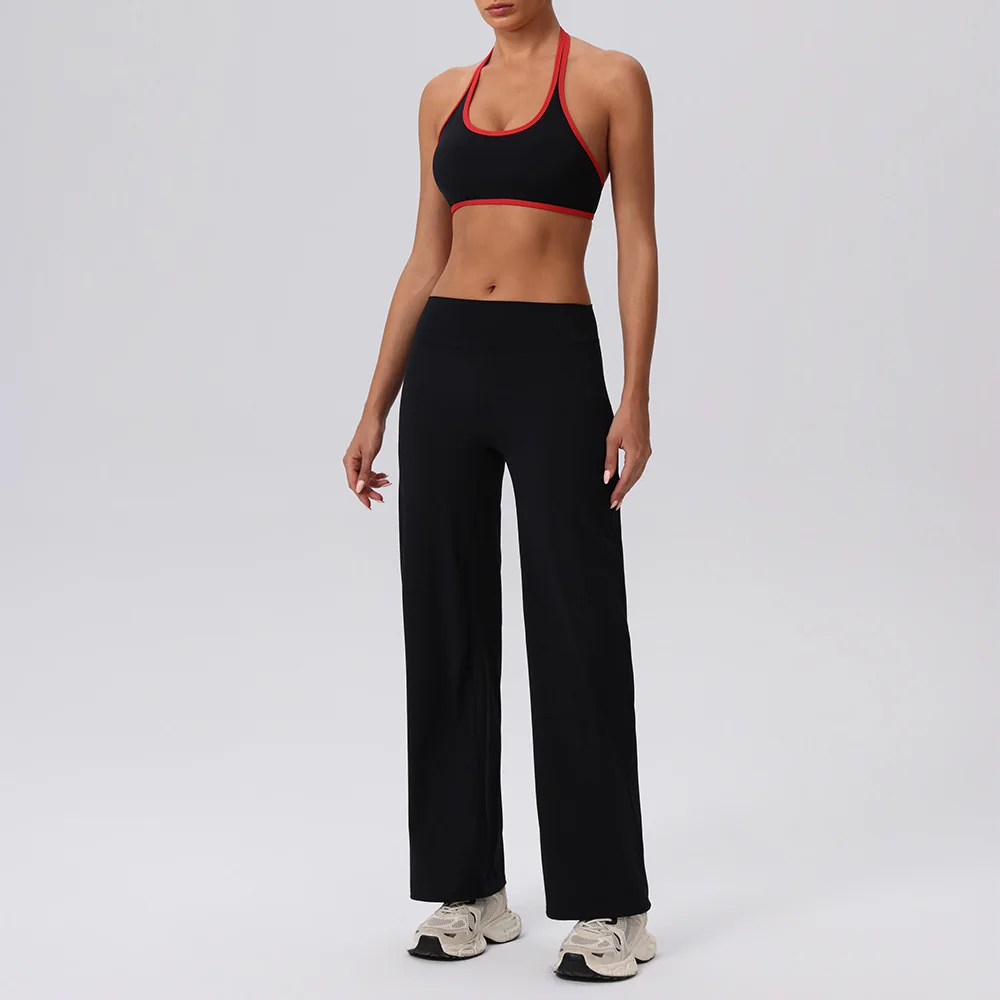
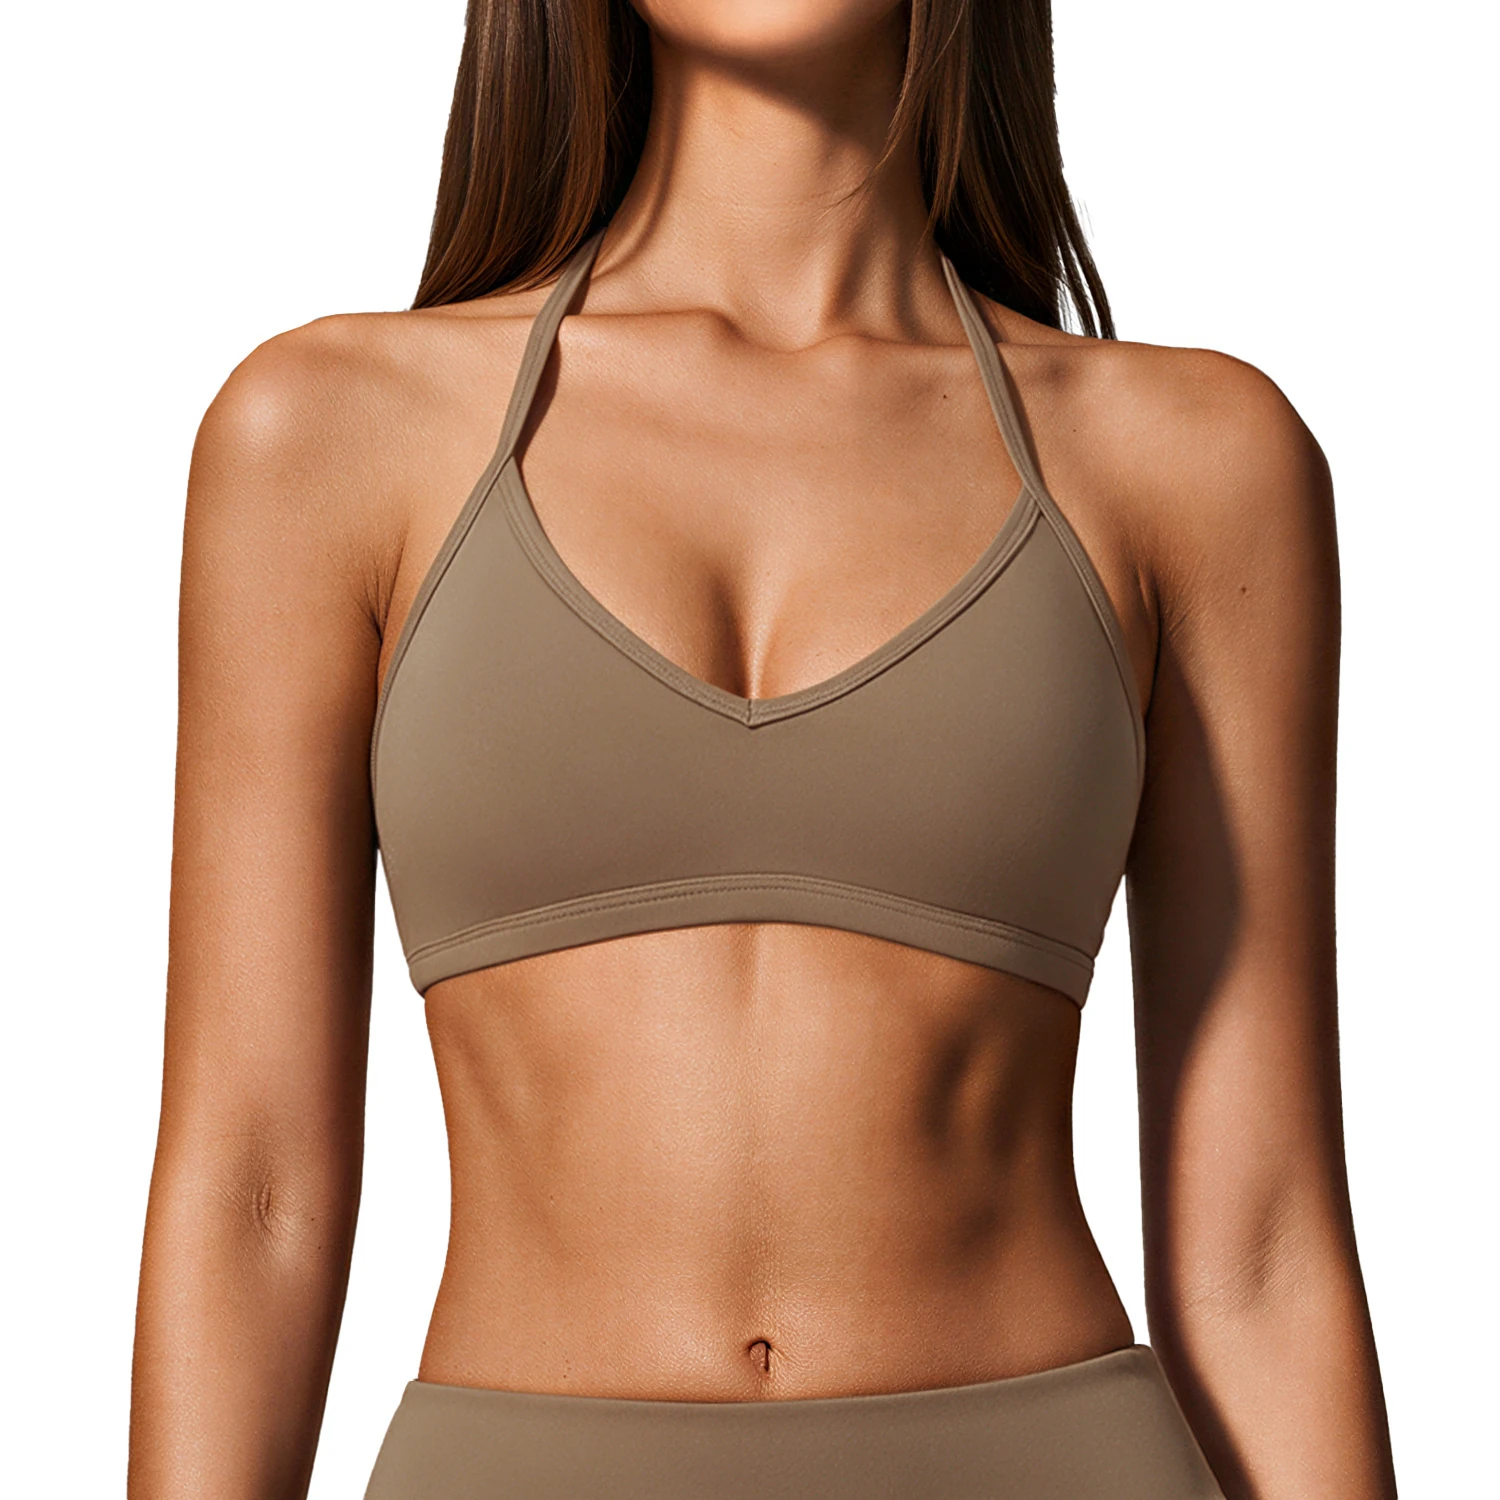
Start from how members actually dress at your facility. A yoga studio sells leggings and crops; a CrossFit box sells shorts, bras and t-shirts; a pilates studio sells matching sets because the clientele photographs itself. Pick the one hero set plus one bottom plus one top, and resist the temptation to add a fourth before you have sell-through data.
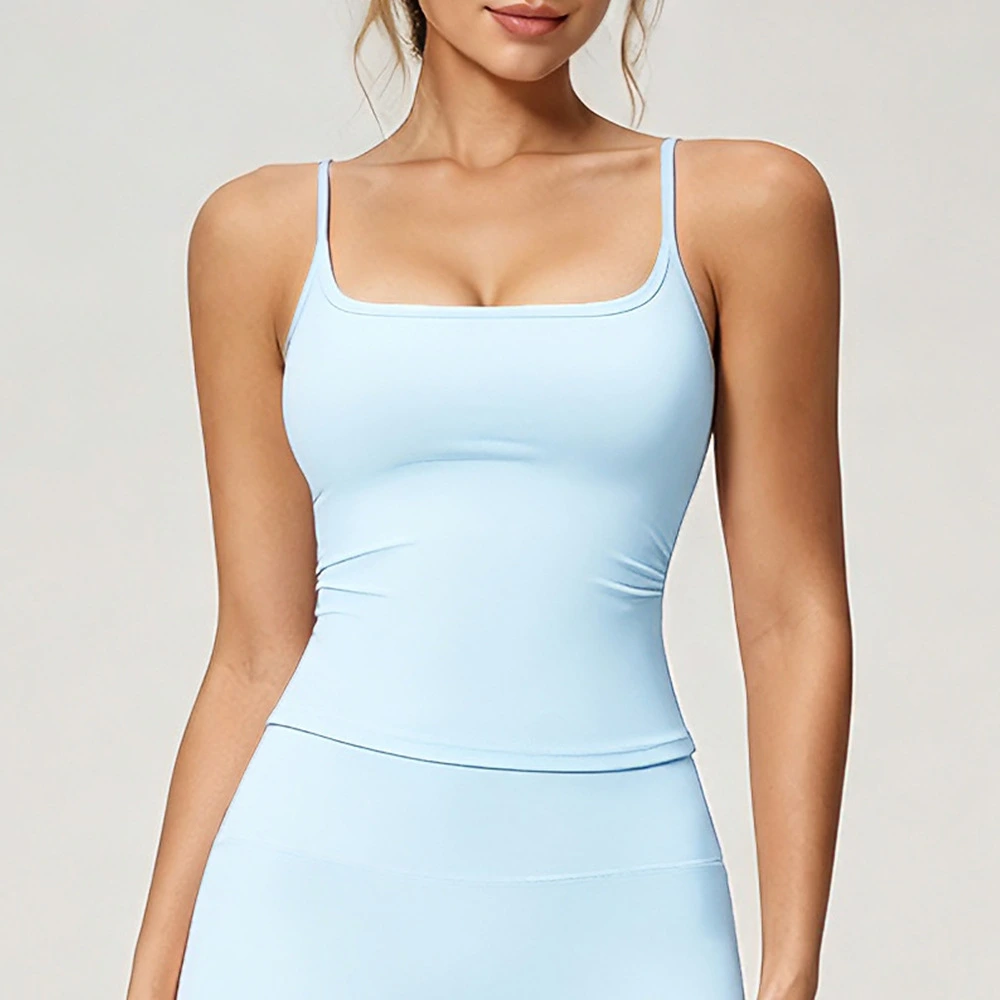
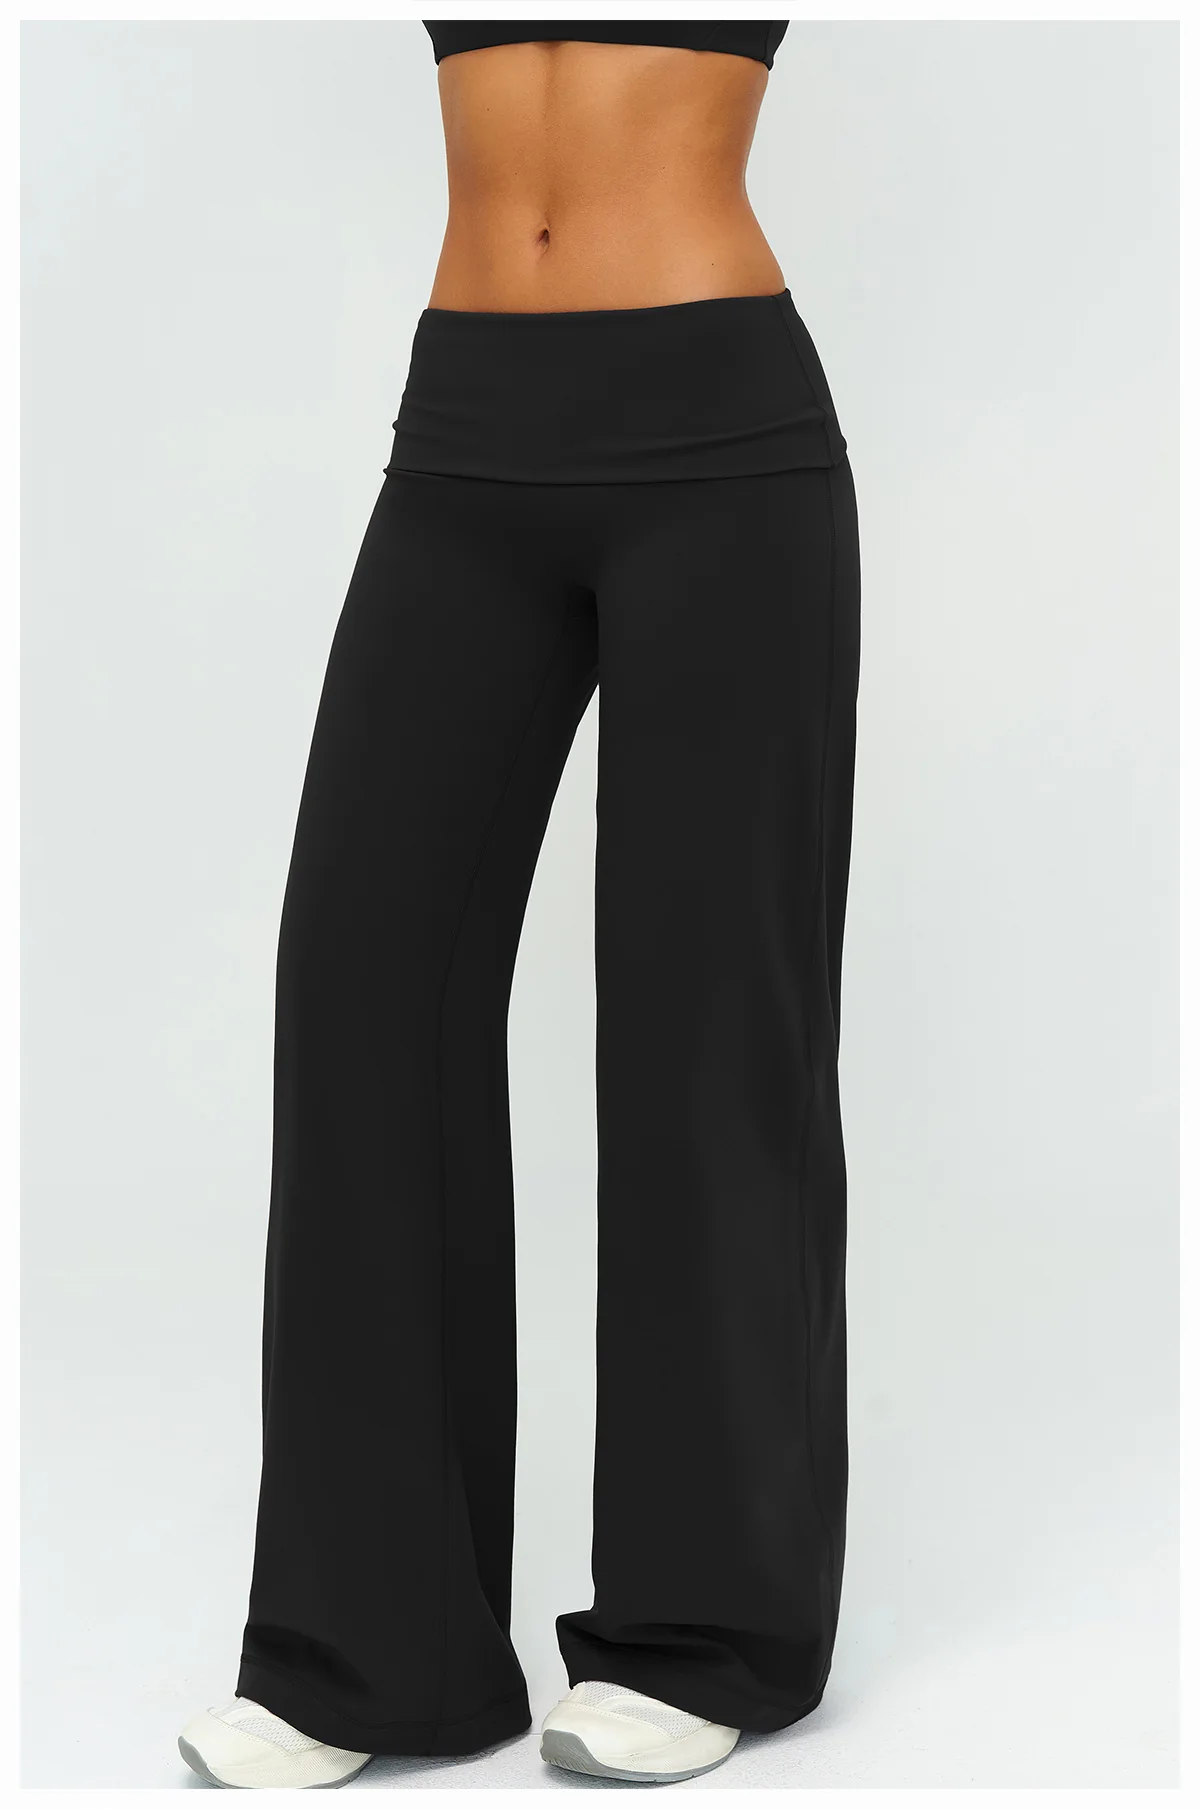
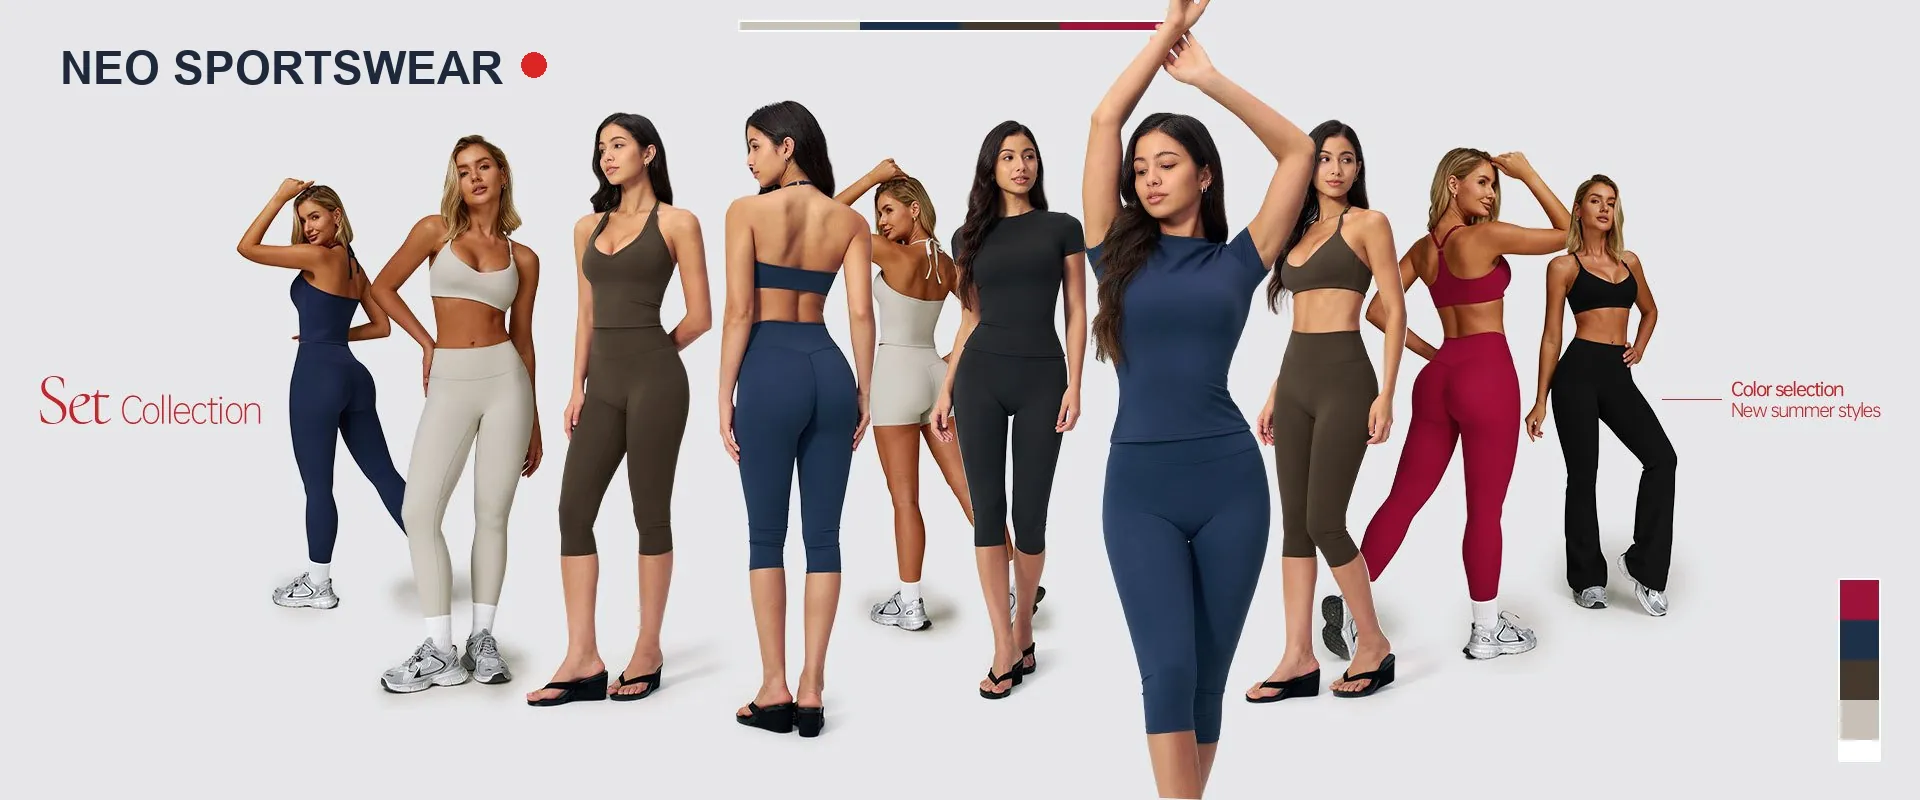
The three usually look like this: a matching bra and legging set as the hero, a flare or straight pant as the second bottom for members who will not wear a legging, and a crop tank as the low-price entry item. That trio covers the three price points people buy at without creating a merchandising puzzle.
Week 1: build the size curve from your class list
Most first orders die in the size split. The default S-M-L-XL retail split rarely matches a gym, because class attendance skews toward the middle. If you have a booking system, export the member list and count how your members describe their size; if you do not, use a 1:3:4:2 split (S:M:L:XL) as a starting point and adjust after the first month.
Two operational notes. First, order at least four of each size in the hero style, or you will sell out of M in a fortnight and lose the sale rather than the size. Second, keep roughly 20% of the total as a buffer for exchanges — a member who swaps a size is a retained member, but only if the swap is immediate.
Week 2: settle the logo, then approve the sample
Put the logo where it survives the wash and reads in a mirror selfie. On a bra, a small mark on the centre front band or the left chest of a crop; on a legging, the left hip or the back waistband. Keep it under 6 cm on the bra and under 8 cm on the leg — a studio name does not need to be legible from across a room, it needs to look considered.
Silicone badges photograph best on knit activewear and feel premium to the touch, which matters when a member is paying a markup for the logo. Flat transfers are the cheaper option and hide into the fabric; embroidery reads as traditional clubwear but needs a stable panel. Whichever you choose, approve a physical press on the real colourway — the 72-hour sample exists precisely so this decision costs a photo rather than a production run.
Week 3: build the content before the stock lands
This is the week most owners waste. While the bulk is being pressed and packed, you should be shooting and scheduling, not waiting. Ask for two things from your supplier: a flat-lay shot per colourway and one on-body shot per style. Then shoot your own community — three members in the hero set, in your space, in your light. Community photography outperforms studio photography for a gym audience every time, and it costs a class slot rather than a photographer's day rate.
Write the launch copy at the same time. Four assets are enough: a launch announcement for your member list, three social posts (product, community, behind-the-scenes of the logo being pressed), and a price list. Nothing about a merch drop needs a campaign plan; it needs stock, photos and a date.
Week 3-4: work out the price before you print it
Pricing a studio line is simpler than pricing a brand collection because your customer is captive and your comparison set is other gyms, not Lululemon. The arithmetic that keeps you solvent is landed cost times a multiplier, where landed cost includes the goods, the logo, the freight and the duty — not just the invoice from the factory.
A working rule across small merch programmes: 2.2x to 2.6x landed cost at retail, 1.6x to 1.8x for a member discount price. On a 50-piece logo order the setup cost is spread thin, so the multiplier needs to carry it. On a 300-piece reorder the same style lands cheaper per unit and the margin widens without a price change — which is the real argument for starting small and reordering rather than over-ordering once.
- Price the set as a set, not as two garments. Bundles lift average order value and reduce the size-matching problem.
- Keep one entry-priced item (crop tank or bra) so a member who will not spend on a set still leaves with something.
- Do not discount in the first month. A discount teaches your members to wait; a sold-out size teaches them to buy early.
Day 30 and after: the reorder is the business
The first order proves demand; the second order makes money. Because these styles are held in stock, a reorder takes 7-10 days for the logo run plus transit — fast enough to respond to a sell-out instead of watching it happen. Track three numbers weekly: sell-through by size, sell-through by colour, and the exchange rate per style. The first tells you what to reorder, the second tells you what to drop, and the third tells you whether the fit is right.
Most studios reach a stable programme by the third order: two hero styles held permanently, one or two rotating seasonal colours, and a member discount that runs on a fixed calendar. At that point the merch line stops being a project and becomes a small, predictable revenue stream — which is the whole point of starting with 50 pieces instead of 500.
Tell us your member count and your three styles — we will suggest a size split and quote the logo run with DDP delivery.