Inside the 72-Hour Logo Sample: Why You Get a Photo, Not a Mock-Up
A rendered mock-up always looks perfect, which is exactly why it is useless for approving a logo on stretch fabric. Here is what actually happens between sending a vector file and receiving a photo of your mark pressed on a real garment — and the five things to check before you say yes.
The gap between a design file and a finished garment is where most branding projects lose money. A logo that reads beautifully at 400 pixels on a screen can disappear on a 6 cm bra band, sink into a brushed knit, or fight a seam that nobody accounted for. The only way to know is to press it and photograph it — on the actual colourway, at the actual size, in the actual position.
That is what our 72-hour sample is: a physical press on a stock garment, photographed under consistent light and sent for approval before bulk starts. Not a digital composite. Not a Pantone render on a white shirt mock-up that will never exist in your range.
What happens in the 72 hours
The clock starts when we have a usable vector file and your placement instruction. Everything after that is a fixed sequence, and each step exists because skipping it causes a defect later.
- Vector check. AI, EPS, PDF or a clean SVG. We look for open paths, hairline strokes under 0.3 mm, gradients that cannot be cut in silicone, and fonts that were not outlined.
- Artwork preparation. The mark is scaled to your final size, trapping and bleed are added for the method, and colours are matched to the closest available film or silicone swatch.
- Sample production. Badge cut and cured, transfer printed and cut, or embroidery digitised and stitched — then pressed onto a stock garment in your chosen colour.
- Photography and measurement. Full-garment shot, a close-up at 1:1, and a millimetre measurement of the mark as pressed so you can confirm it matches your spec.
- Approval or correction. You approve, or you tell us what to move. Corrections at this stage are cheap; corrections after bulk are not.
Why the method changes the sample, not just the price
Each of the five methods behaves differently on stretch knit, and the sample is where you see the difference. A silicone badge sits proud of the surface with a matte finish; a flat transfer disappears into the fabric until you look closely; embroidery adds a stitched texture that photographs as quality but needs a stable panel underneath.
Practical consequences worth knowing before you choose: a 3D badge on a brushed suede-touch knit can look muddy if the badge is small, because the pile competes with the relief. A flat transfer on a deep-dye black shows a faint halo if the film edge is not cut cleanly. Embroidery across a seam line puckers the seam. None of these are visible in a mock-up, and all of them are obvious in a 1:1 photograph.
Flat heat transfer, on a real garment
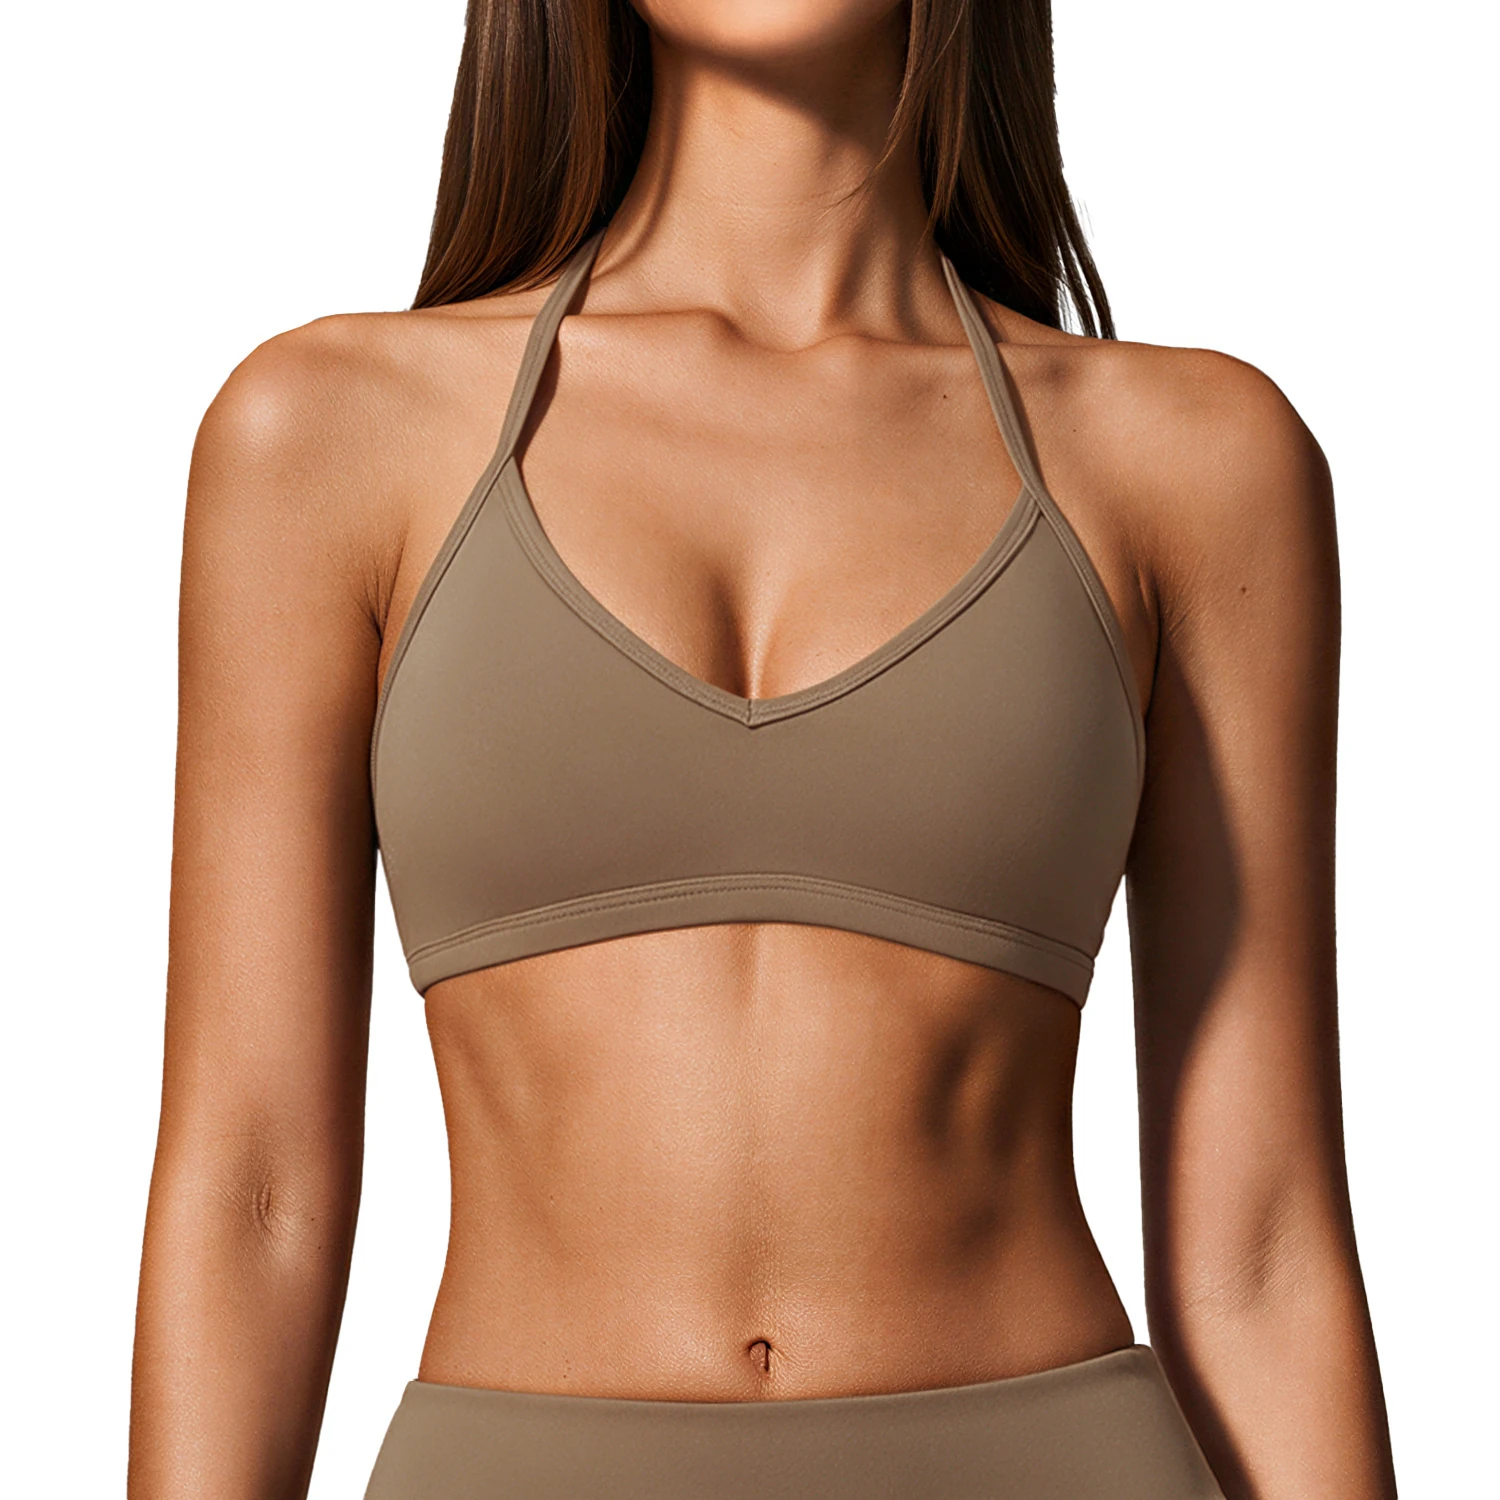
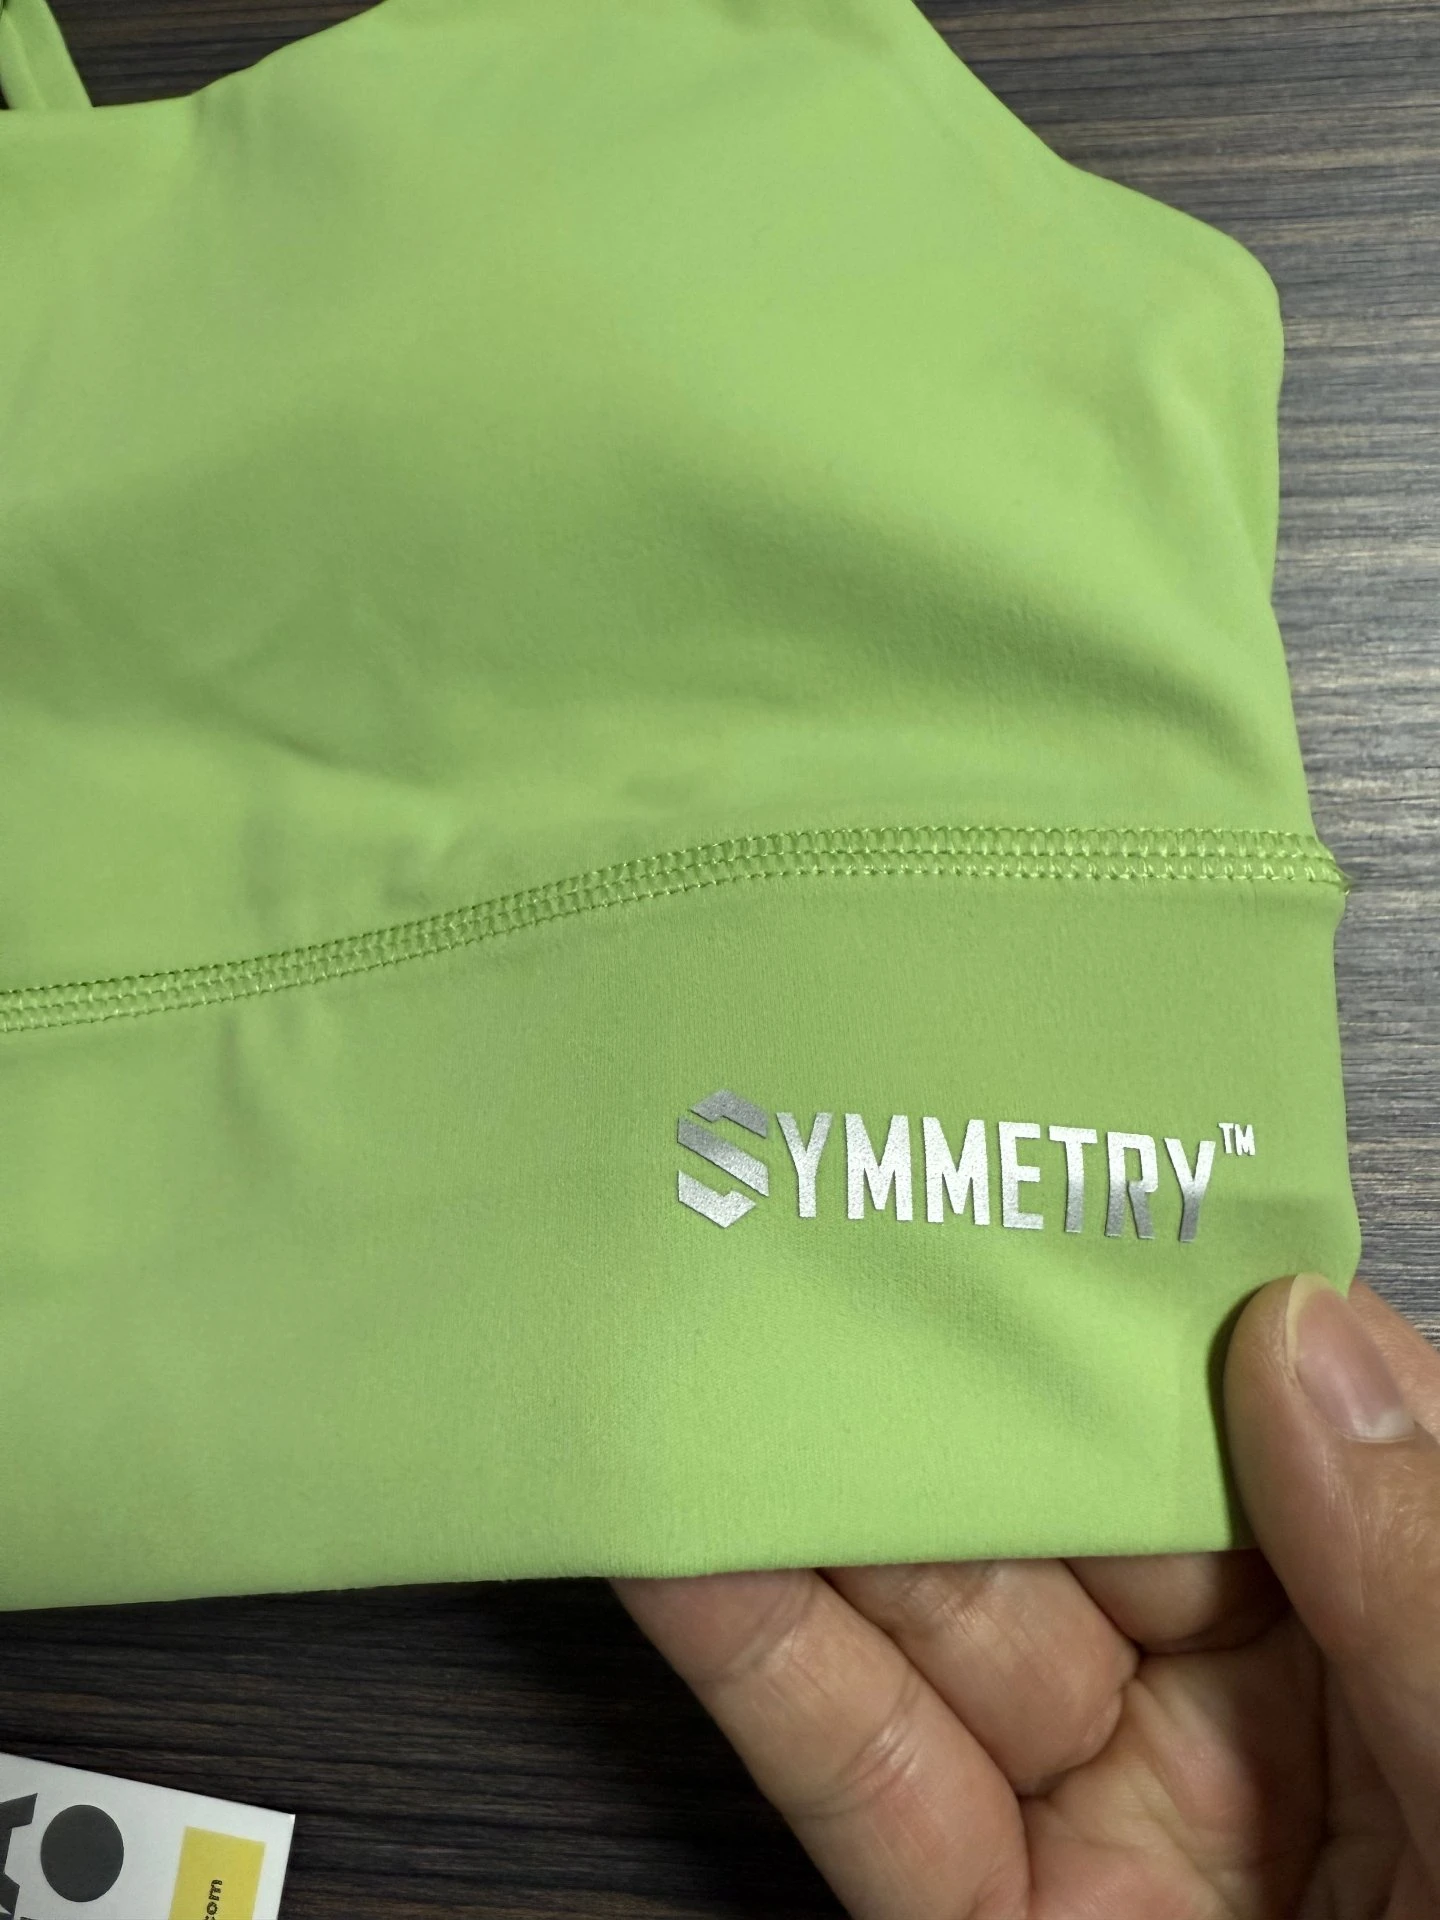
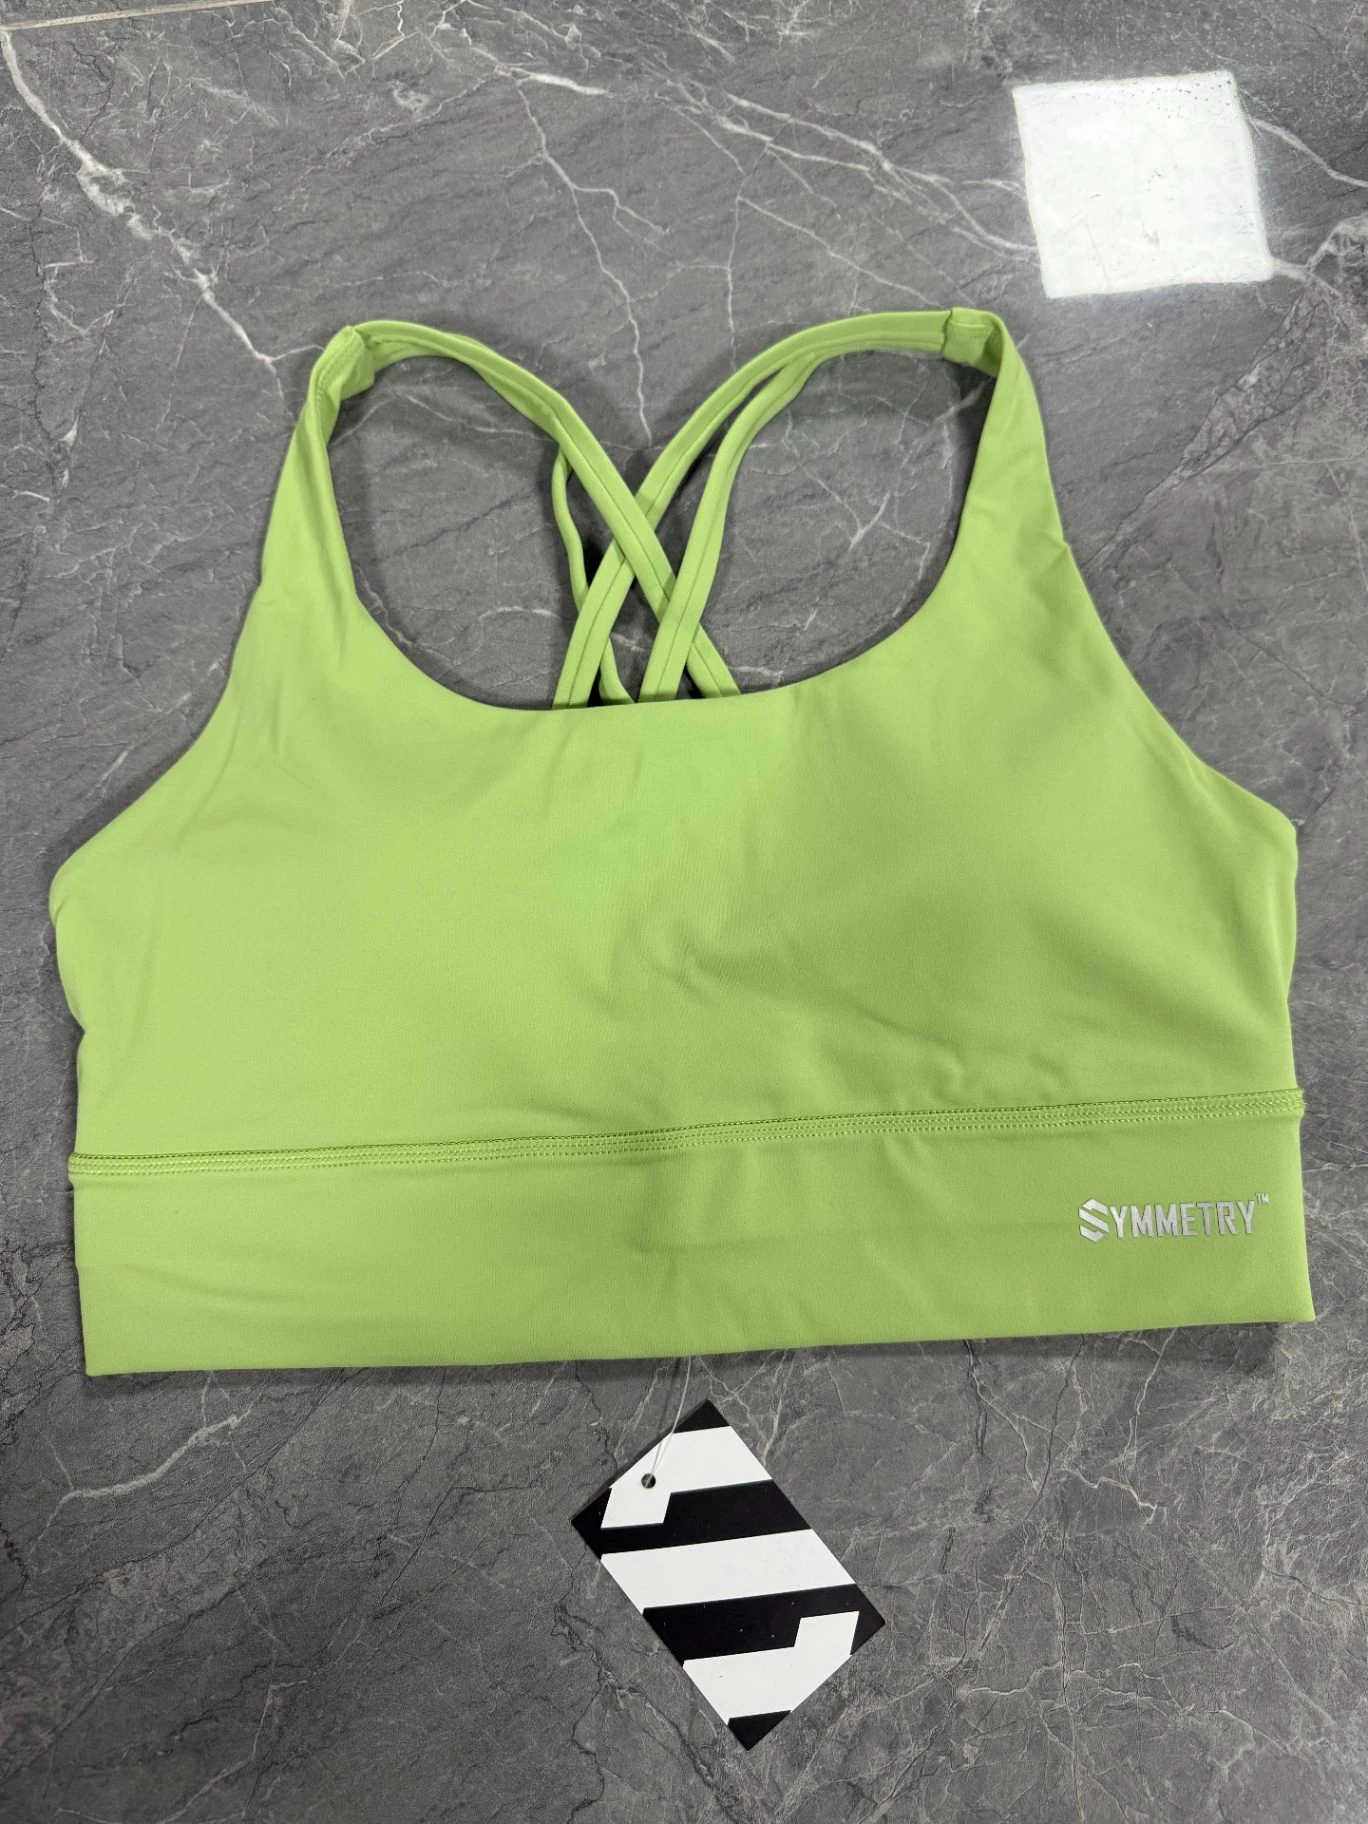
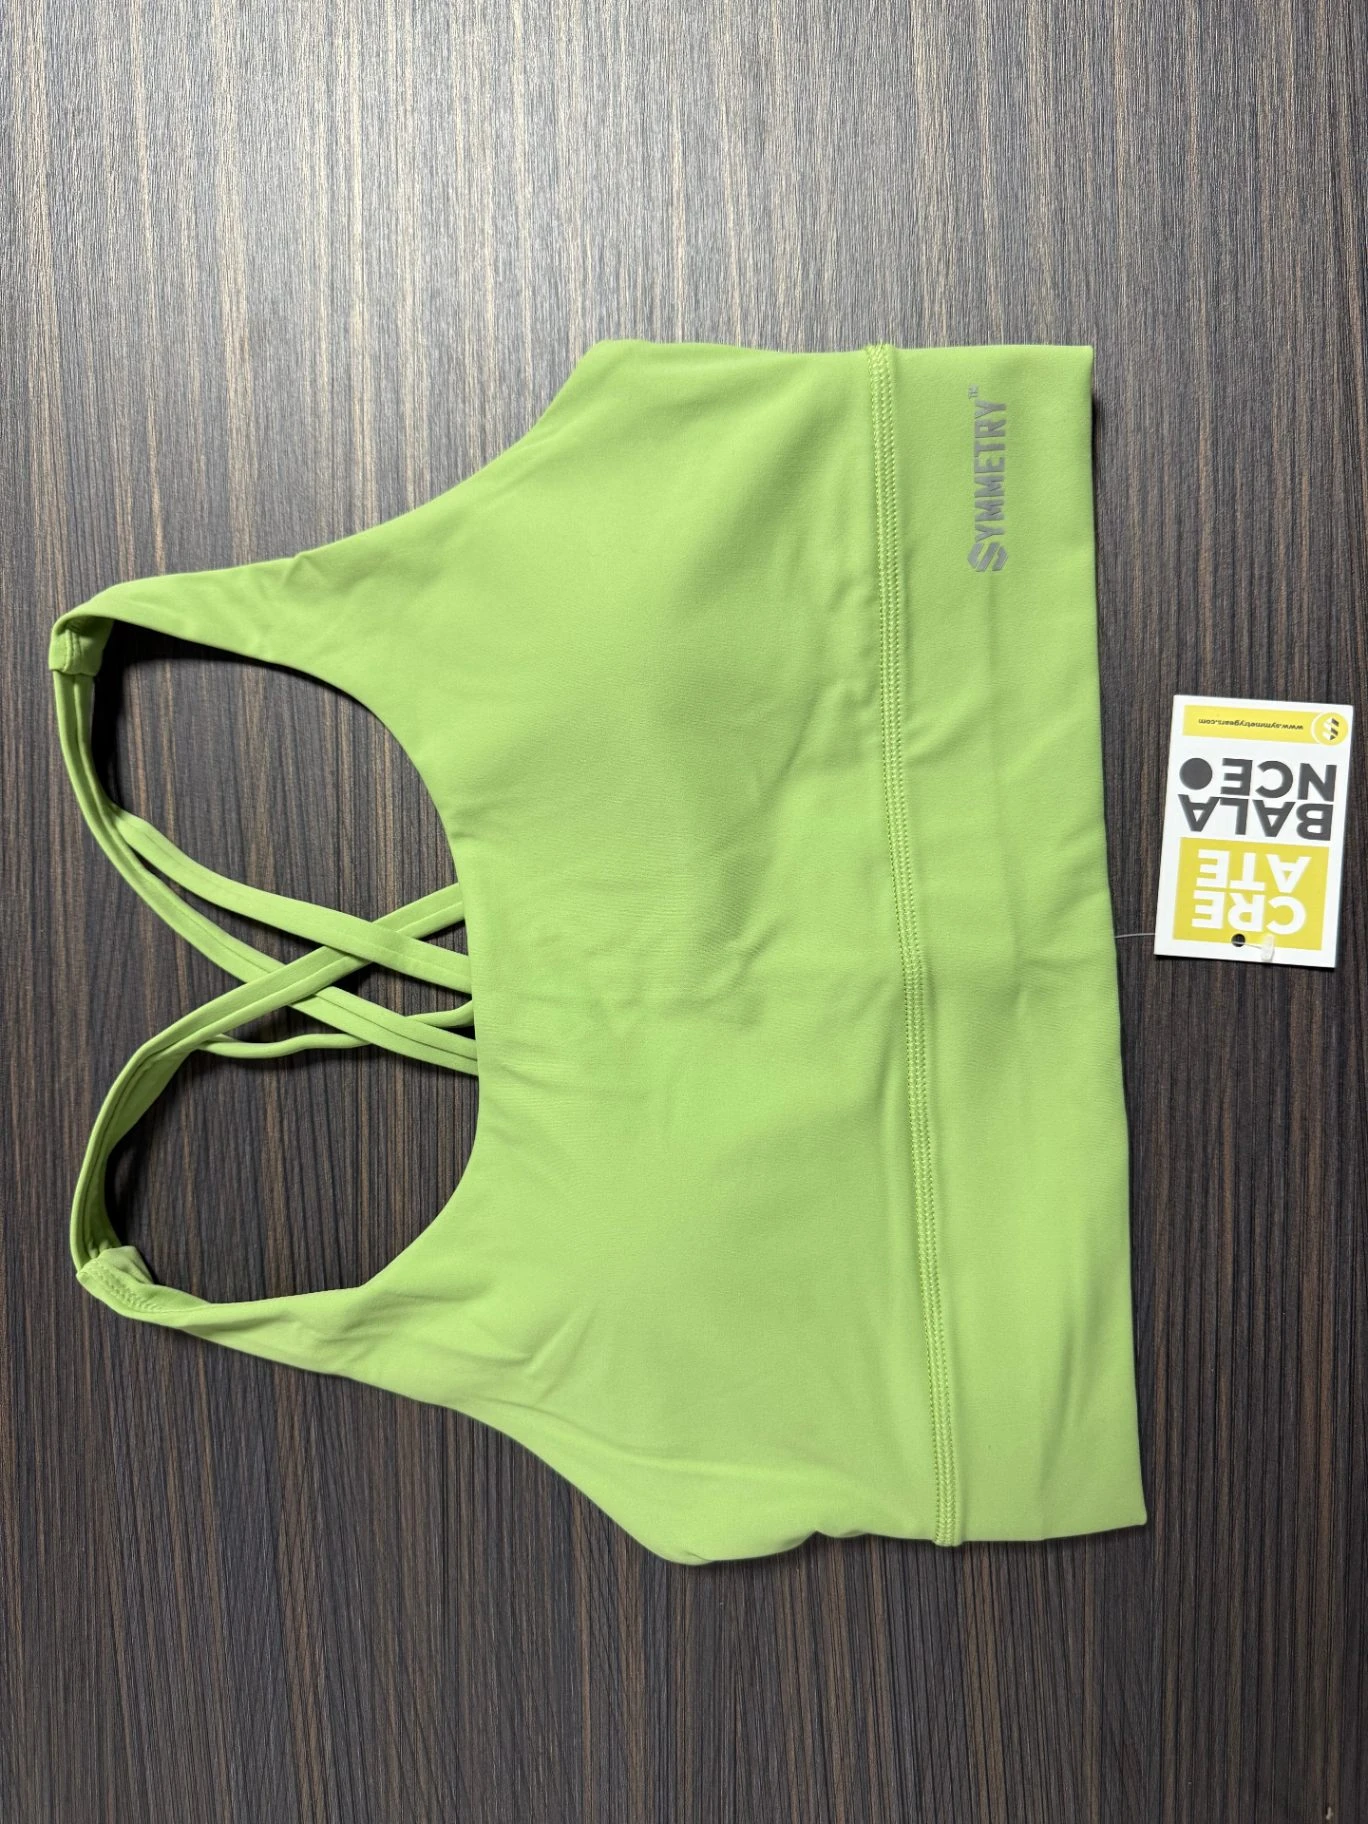
A recent customer press on our stocked strappy-back bra shows what a flat transfer does well: the metallic silver mark sits inside the knit, reads cleanly across the band, and survives a vertical centre-back placement between two seams — a spot where a raised badge would catch and peel.
Silicone badge, on a real garment
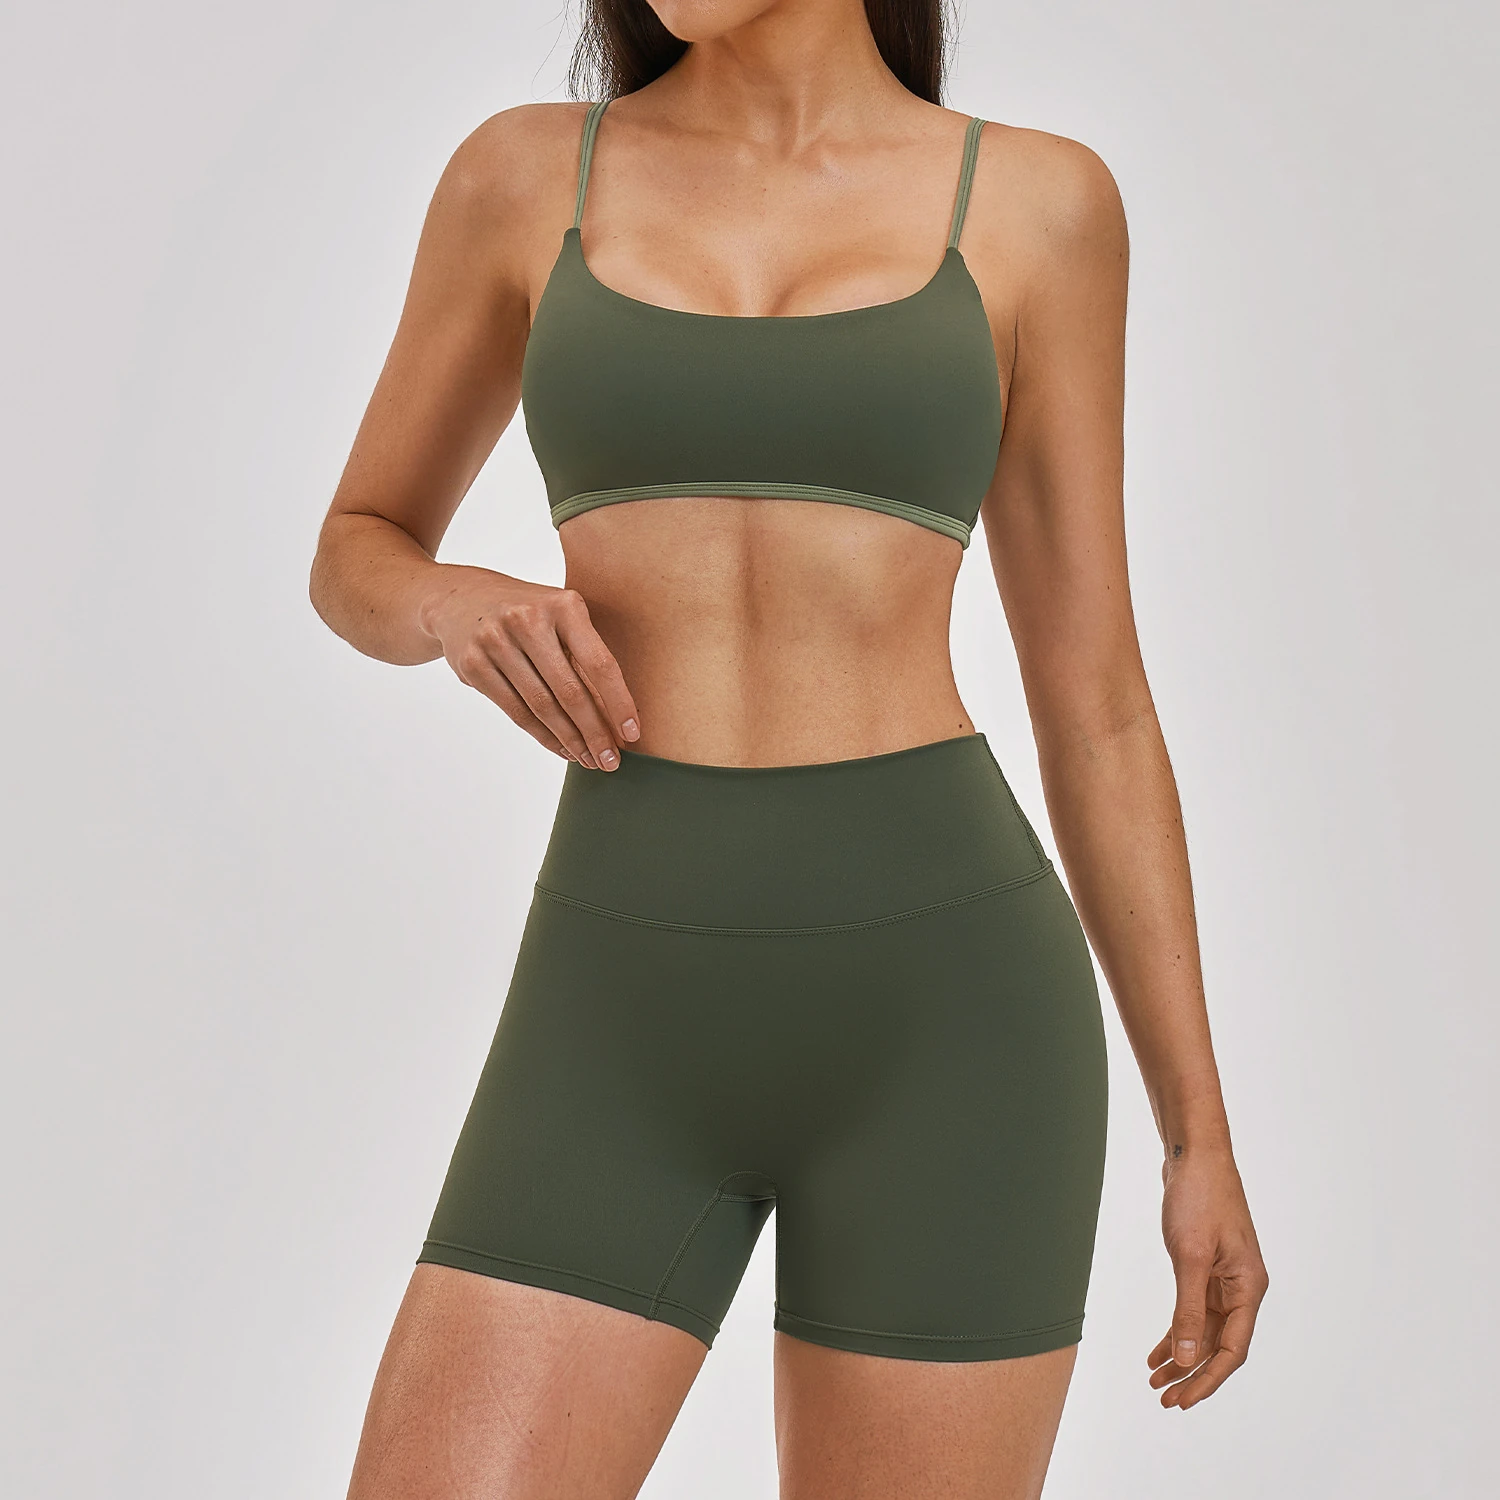
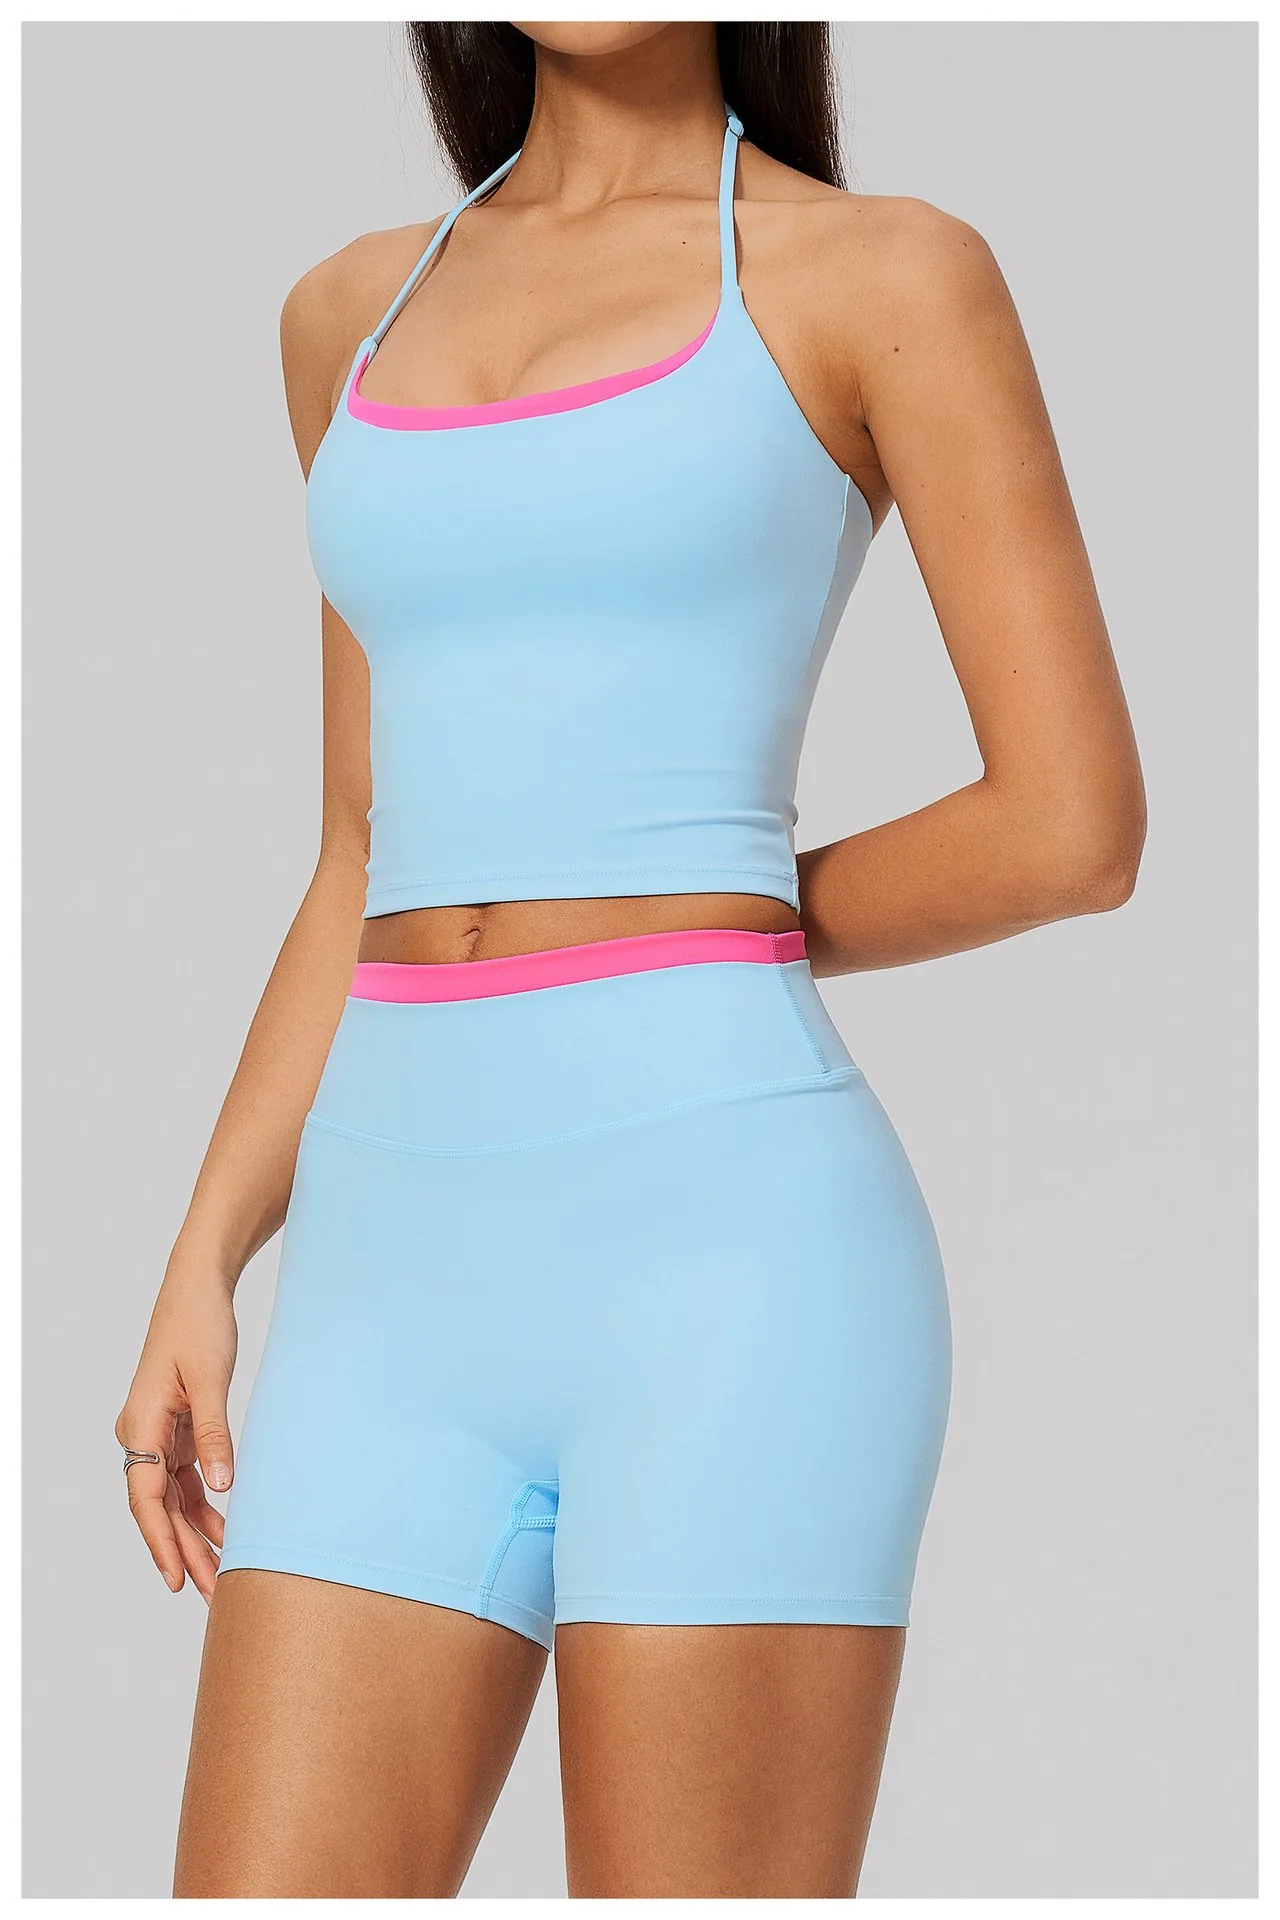
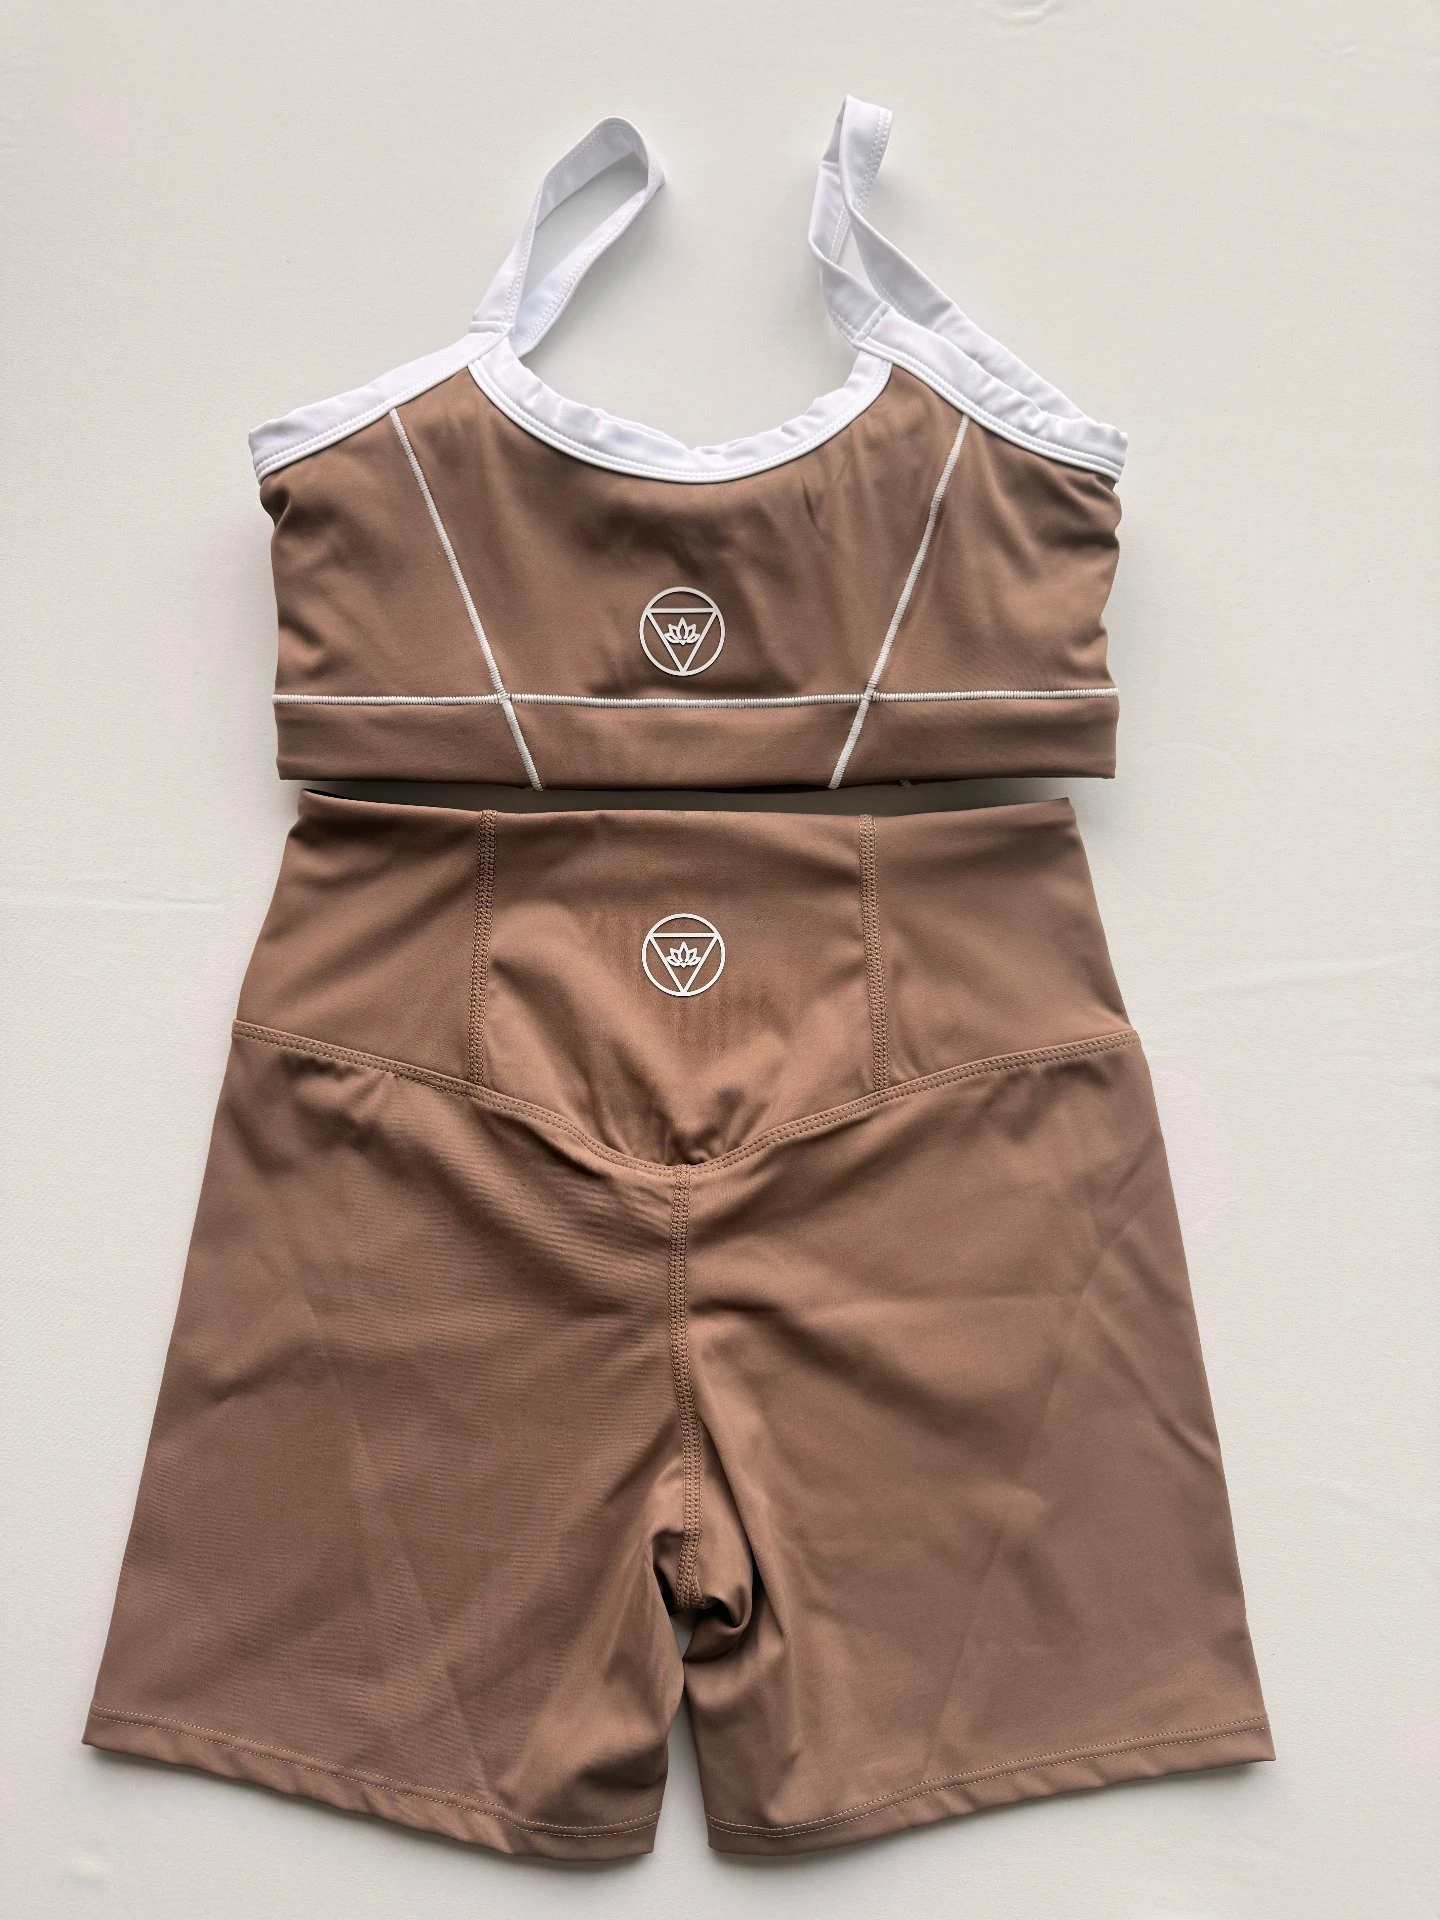
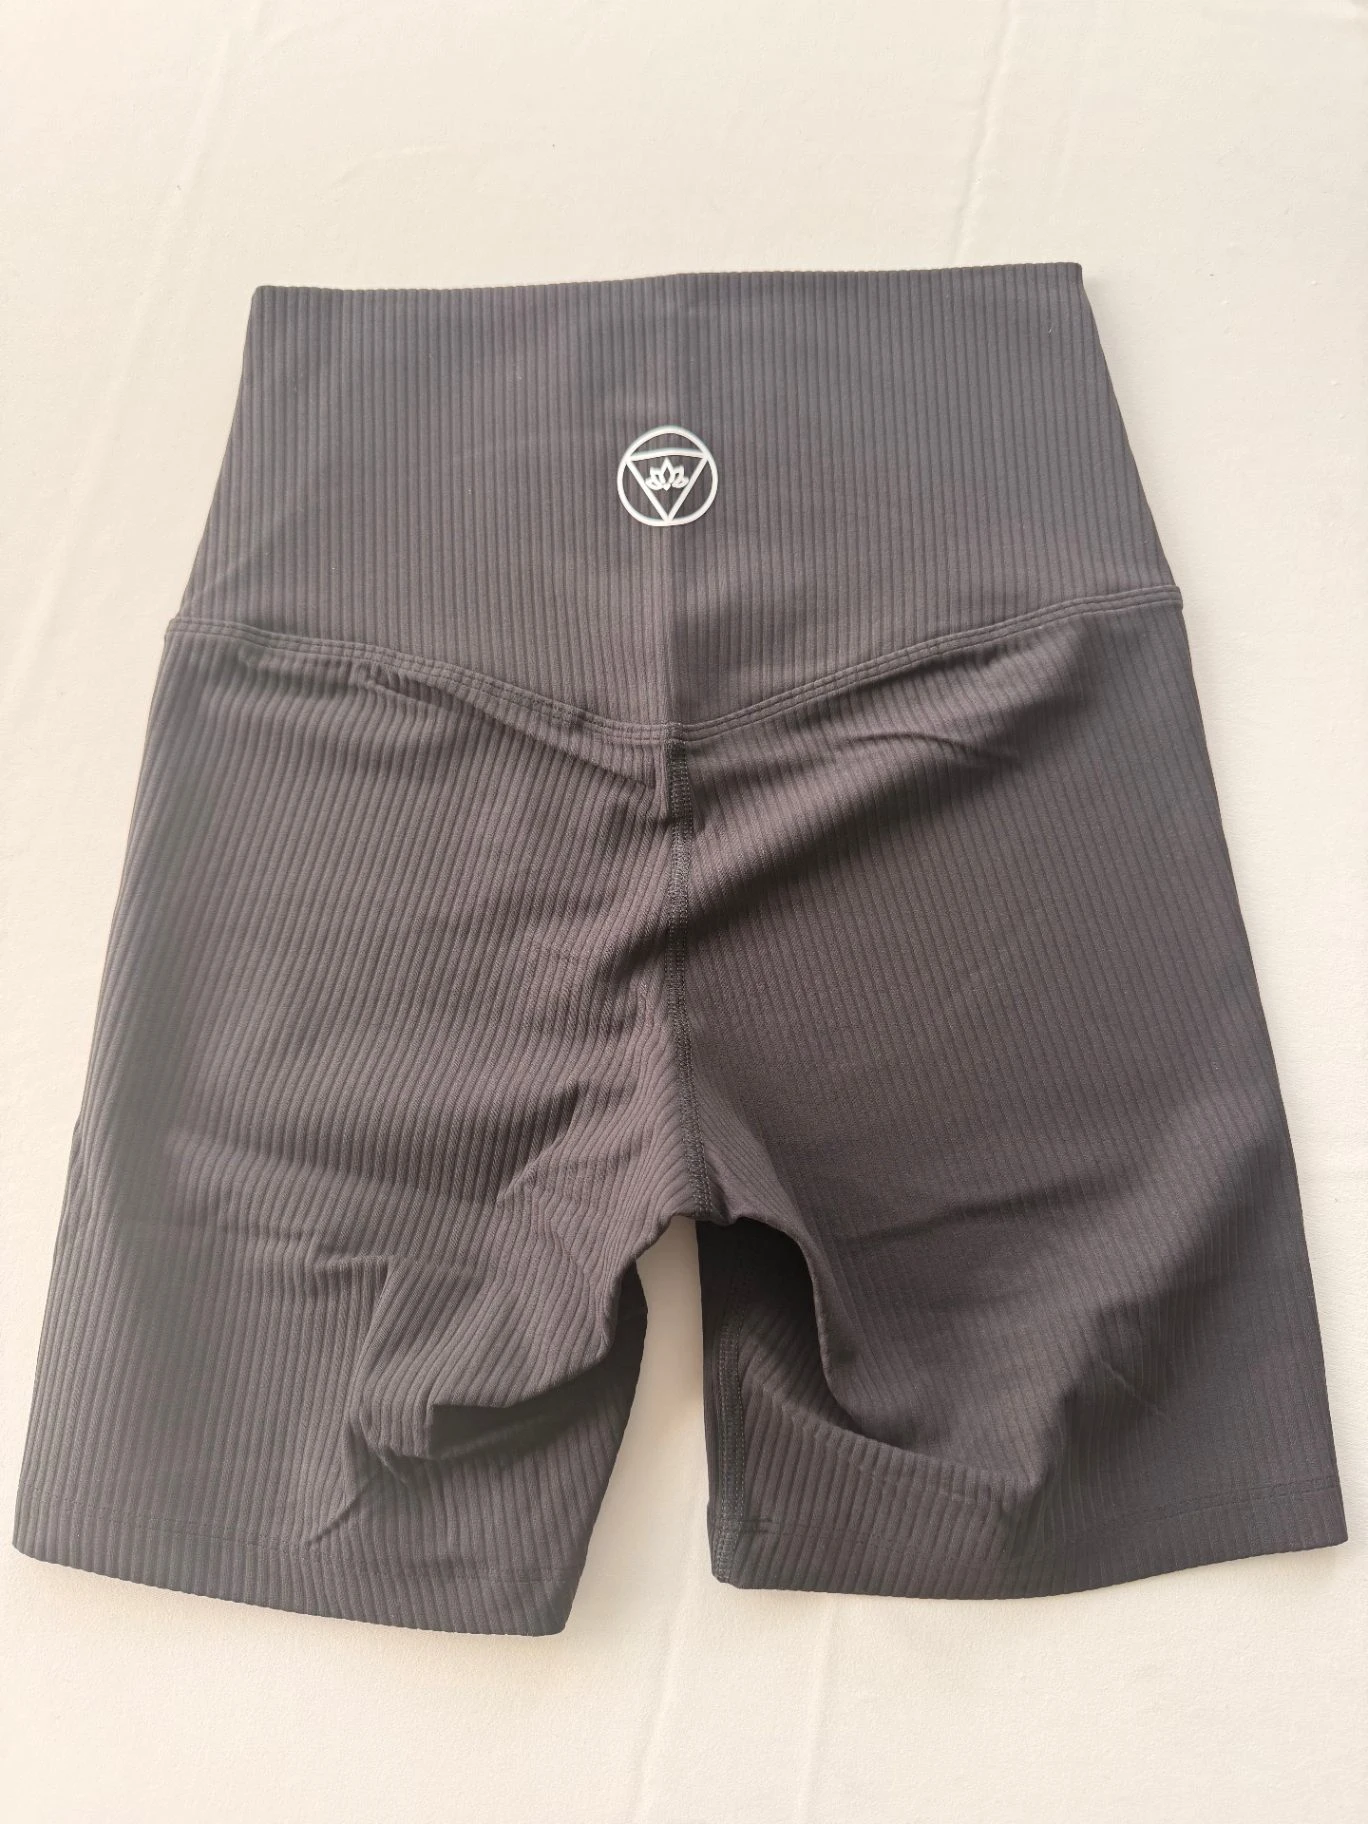
The same order window, a different method: raised silicone badges on two stocked sets. On the tonal bra-and-shorts set the badge stays subtle in a matching thread colour; on charcoal rib the white relief stands proud of the surface and reads from metres away. Same fabric family, opposite visual weight — which is exactly the trade-off the sample is for.
The five-point approval checklist
When the photo arrives, resist the urge to reply "looks good". Check these five things in order — they are the five that generate rework.
- Size in millimetres. Not "it looks about right". Compare the stated measurement against your spec. A 5 mm difference is invisible in a photo and very visible in a range review.
- Position relative to seams and trims. Is the mark centred on the panel or floating toward one strap? Is it clear of the neckline binding?
- Colour against the garment. Your brand blue pressed on navy is a different decision than the same blue on white. Approve the combination, not the colour in isolation.
- Legibility at thumbnail size. Screenshot the photo, shrink it to the size it will appear in a marketplace listing, and look again. Fine detail that vanishes at 100 px is wasted money.
- Edge quality. Zoom to 100%. Clean cut edges and sharp counters (the inside of an "a" or "e") are the difference between a premium mark and a sticker.
What happens after you approve
The approved sample becomes the production reference. Bulk runs the same artwork file, the same press temperature and the same position on every piece — which is why the 7-10 day bulk window is realistic: the only variable left is execution, not design. If your order mixes colours, the mark is pressed per colourway and matched against the approved photo for that colourway.
One caveat worth planning for: if your artwork changes after approval, the sample cycle restarts. It is a 72-hour restart, not a disaster, but it moves the bulk date. That is the reason we ask for final artwork before sampling rather than "something close for now".
Can you skip the sample?
You can, and some repeat customers do on reorders of an already-approved mark. On a first order we would rather not ship without it. The sample is the only point in the process where a mistake costs a courier fee instead of a production run — and because it is photographed rather than shipped, approving it costs you a reply, not a week of waiting.
Send a vector file on WhatsApp and we will press it on your chosen style and colour — photo back within 72 hours.